To install the software:
1. Log on to your computer with Administrator Privileges.
2. Plug-in your Hardware Key to your computer.
3. Insert the Program Disk into your DVD drive. Once the Install window opens, review the install location, and click Next.
4. Read the License Agreement, check that you agree, and click Install. This begins the install (see Figure 1).
5. If a previous installation is detected, you will be given the option of importing printer settings from the previous install (Figure 2).
NOTE: Only settings from the most recent install will be imported. For instance, if you have both 6.5 and 7.3.2 installed on the same system, only the settings from the 7.3.2 install will be considered.
 If you choose to import previous settings:
6. Once the install is complete, click Finish to exit the installation.
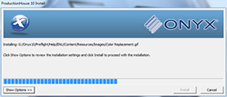
Figure 1

Figure 2