How to Set Up a Minimum Price a Print Job/Non-Print Job

Job Minimum Price is a setting available for Print Jobs and Non-Print Jobs within ONYX Align. This setting allows you to establish a minimum price for the job, preventing the Price per Job value from going below the set Job Minimum Price value (regardless of the price calculation mode calculations).
Follow this guide if you would like to set up a minimum price for a Print Job or Non-Print Job.
Table of Contents
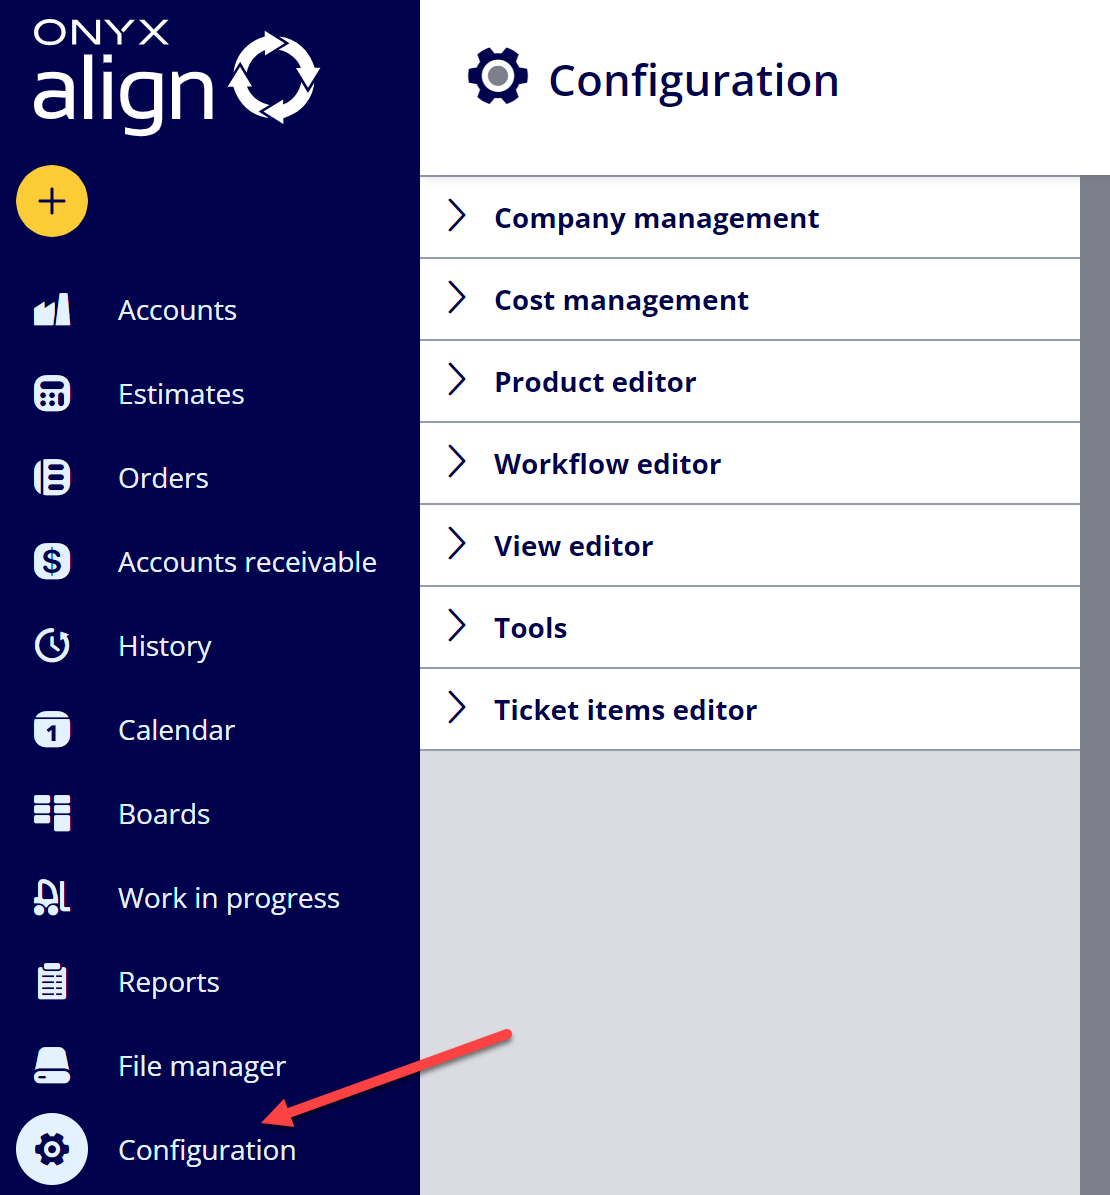
(1) Navigate to Configuration
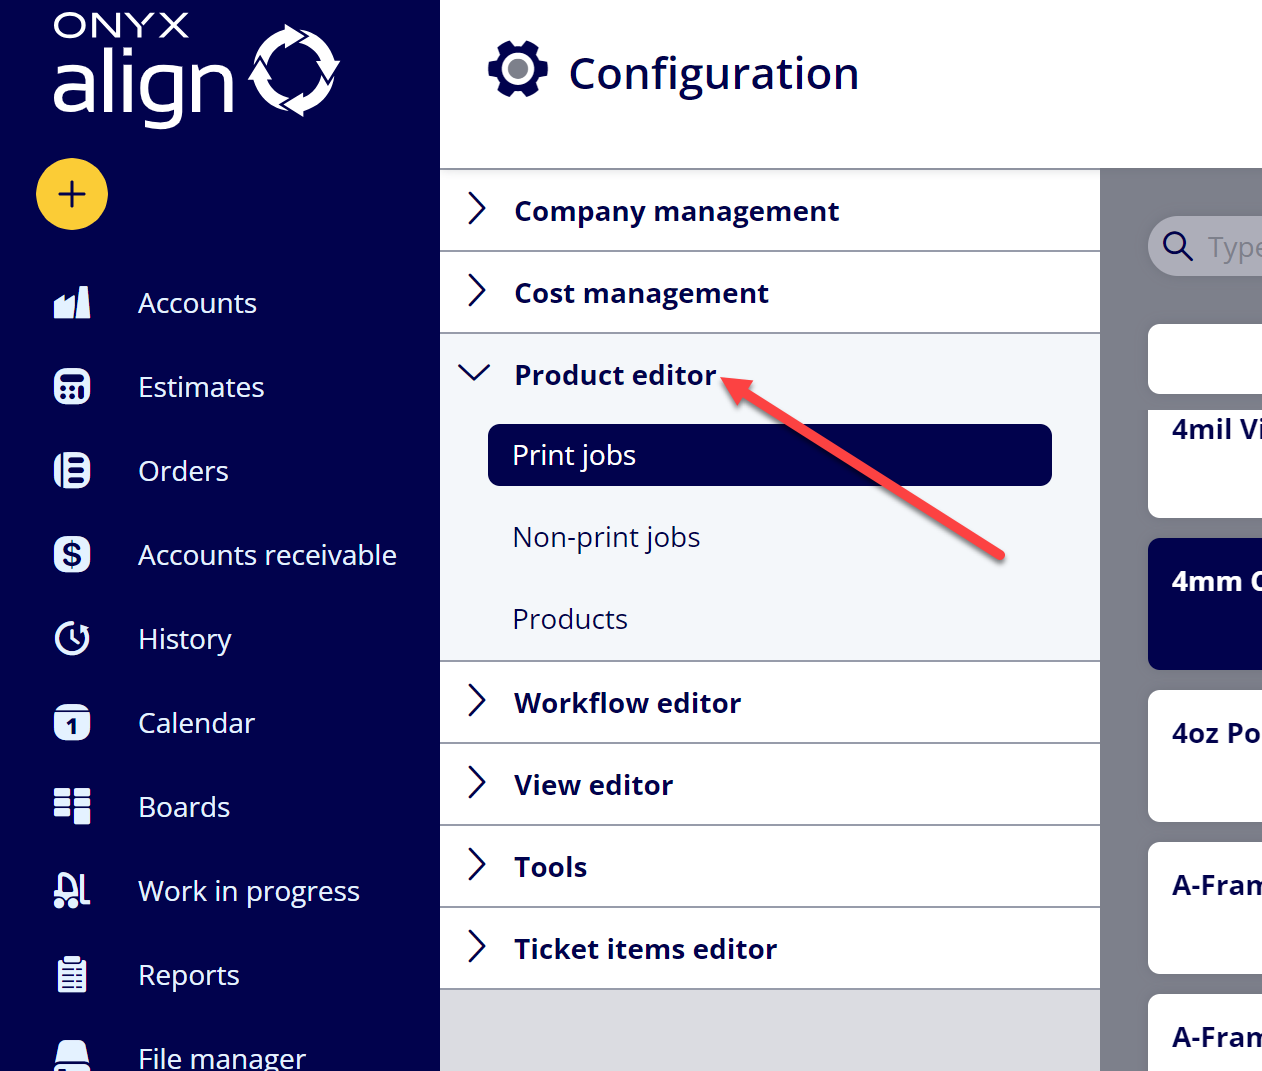
(2) Open the Product Editor section
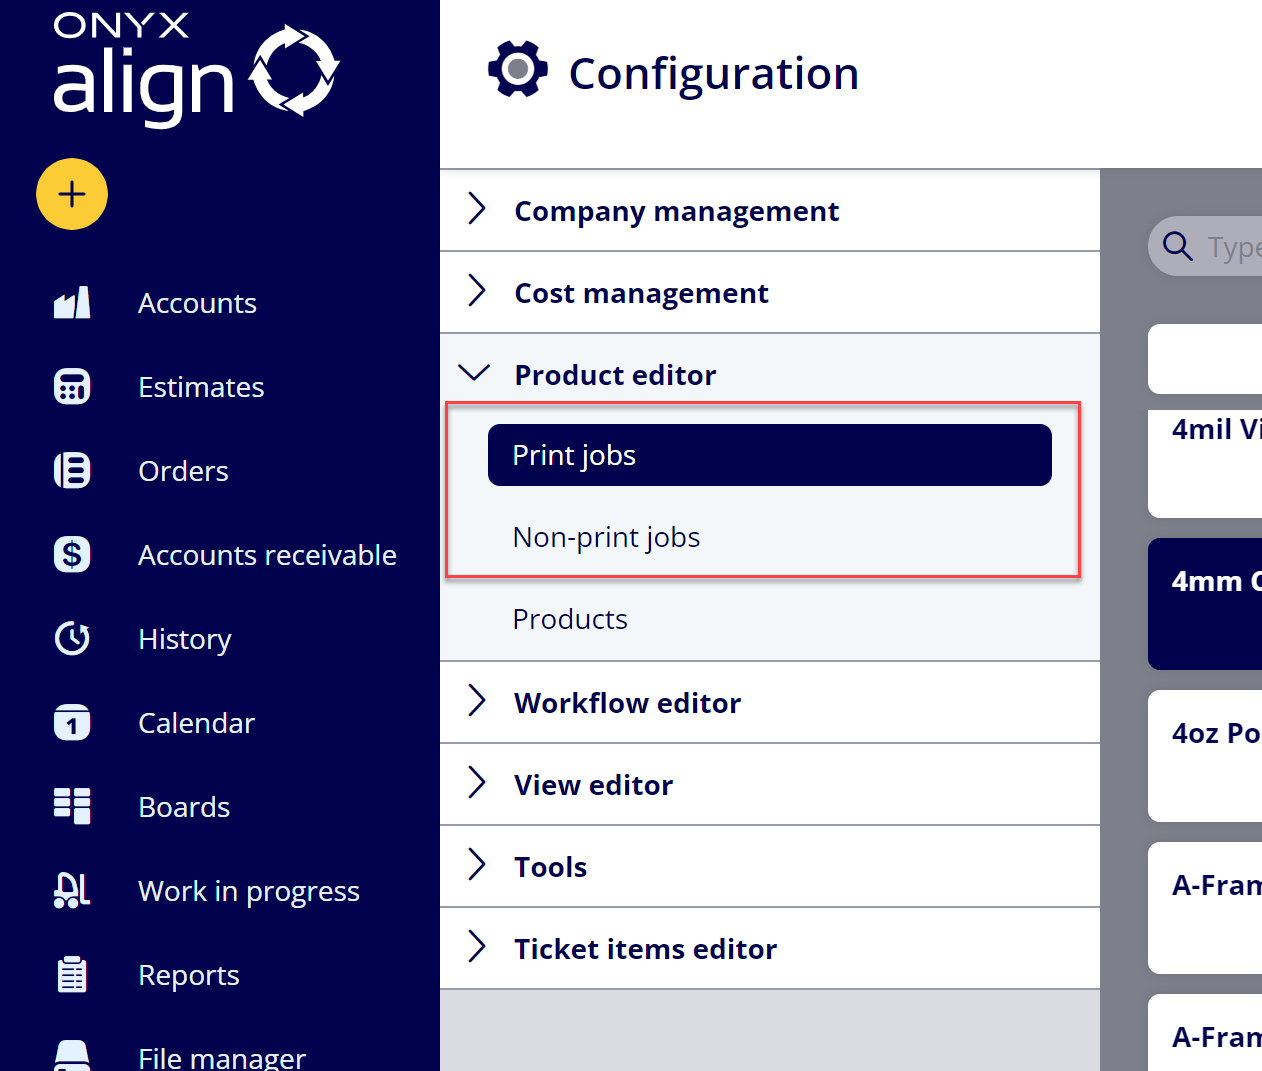
(3) Select either Print jobs or Non-print jobs
(4) Select the job you wish to configure
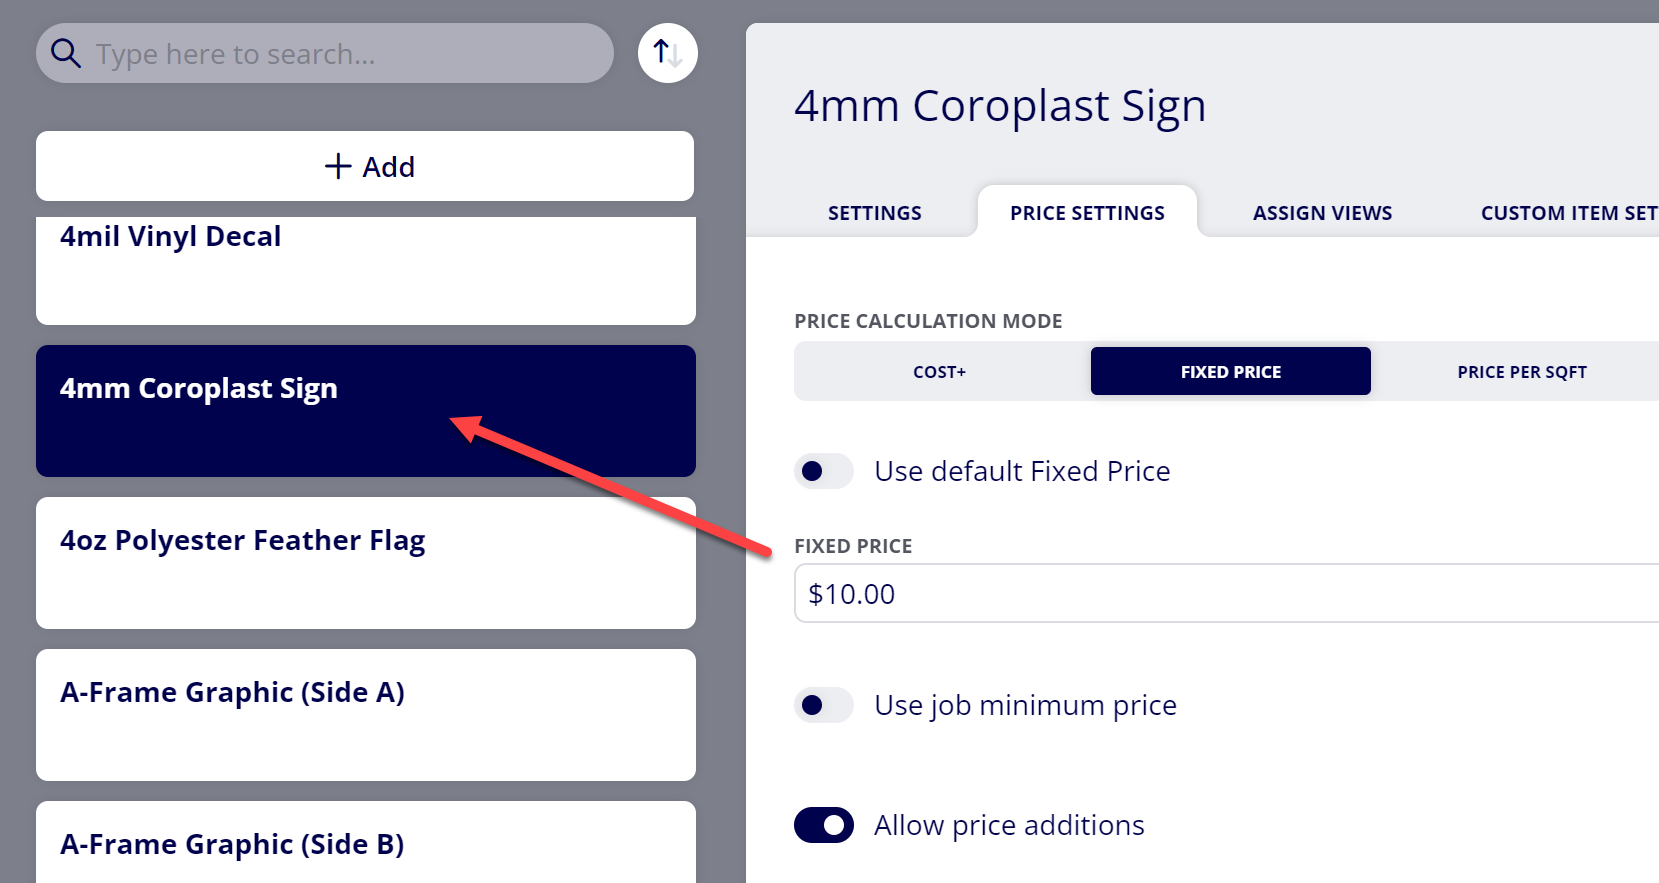
(5) Navigate to the Price Settings tab
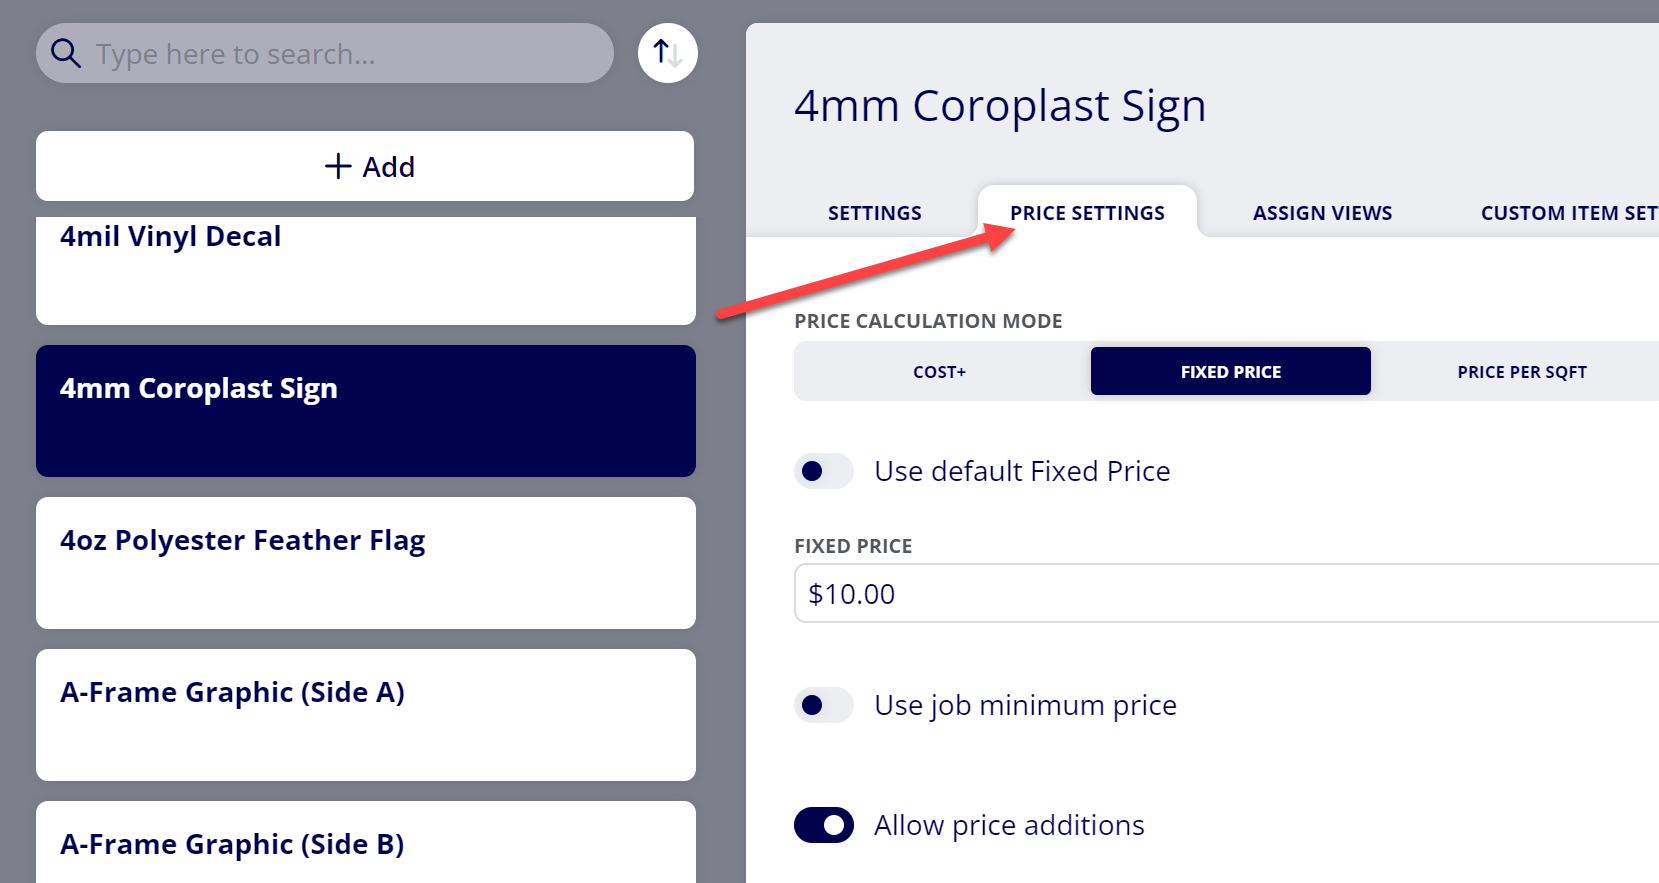
(6) Configure the settings related to Job Minimum Price
|
Setting/Field |
Description |
|---|---|
|
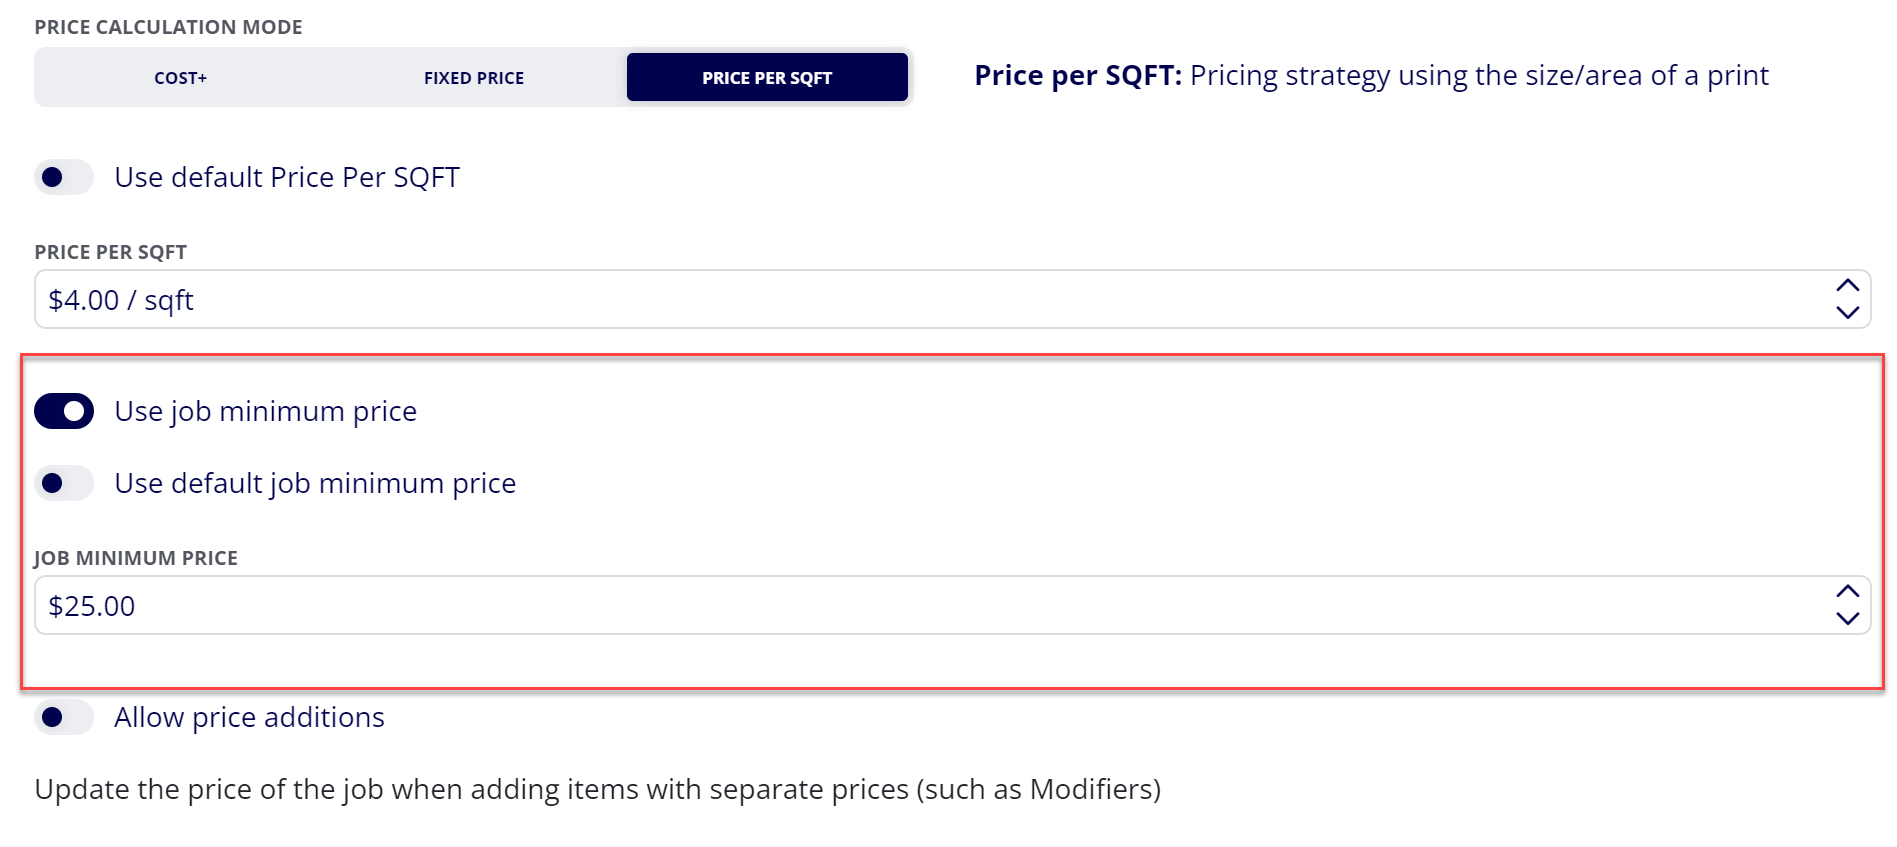
Use job minimum price |
Determines whether or not you would like to establish a Job Minimum Price for the job. When enabled, you will be able to set a minimum price for the job, and the Job Minimum Price field will be visible within Job Details. |
|
Use default job minimum price |
Determines whether or not you would like to use the default Job Minimum Price value that is set up within the global Job Minimum Price ticket item settings (Configuration > Ticket items editor > Print job/Non-print job items > Job Minimum Price). |
|
Job Minimum Price |
The desired minimum price for the job. The value set here will set the lowest possible value for Price per Job. Example: If I have a job that is using a Price per SQFT of $10.00 and the size of the job is 1 SQFT (12”x12”), then the Price per Job would be $10.00 (1 SQFT * $10.00/SQFT). However, if I set a Job Minimum Price value of $15.00, then the Price per Job will be $15.00 (the Price per Job goes no lower than $15.00, even though the calculated value is $10.00). If Use default job minimum price is enabled, this value will be read only and will use the value set within the global Job Minimum Price ticket item settings. If Use default job minimum price is disabled, you will be able to enter a custom value specific to this job. |
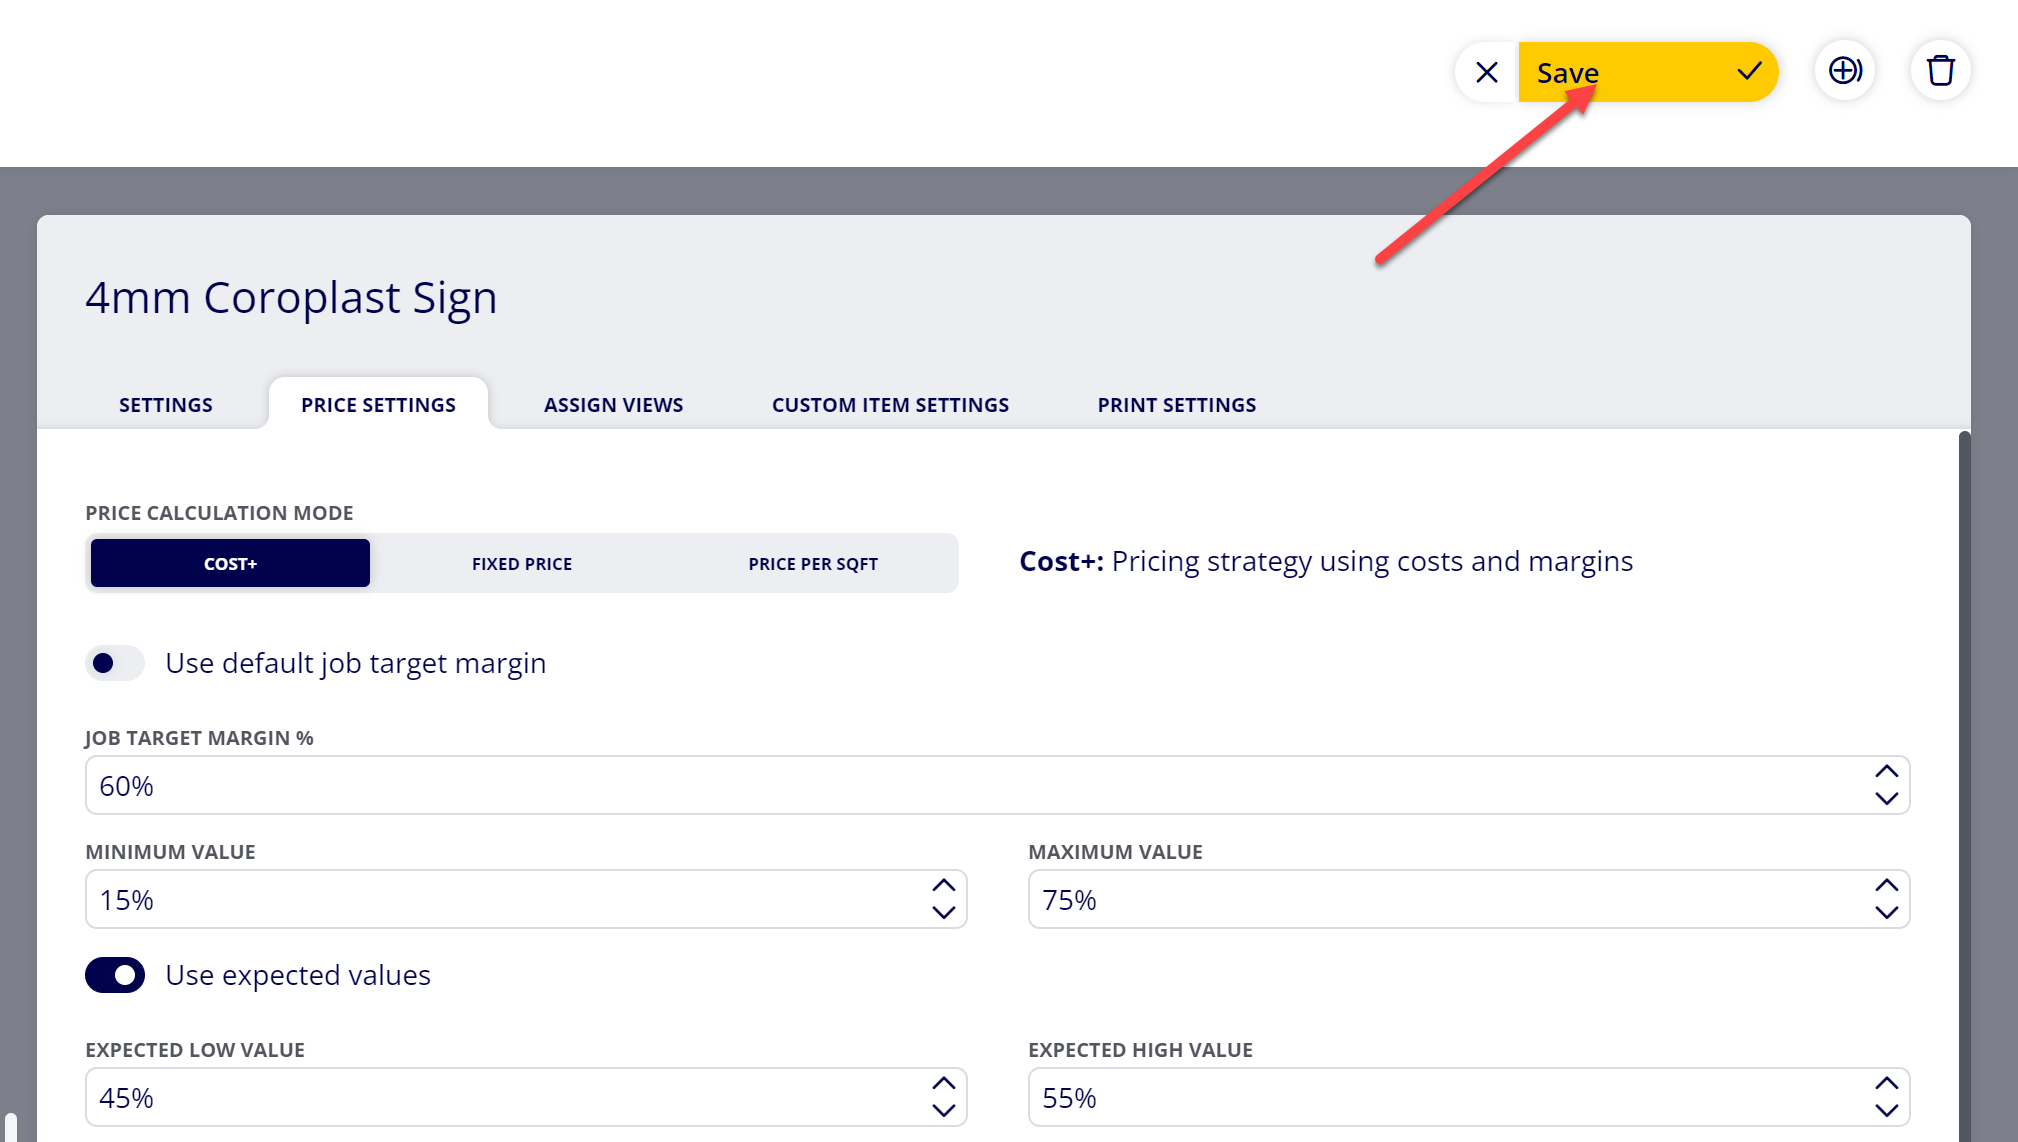
(7) Click “Save”
Attachments:
 image-20240729-195127.png (image/png)
 image-20240627-184013.png (image/png)
 image-20240627-183948.png (image/png)
 image-20240627-183926.png (image/png)
 image-20240627-183857.png (image/png)
 image-20240627-183829.png (image/png)
 image-20240117-210948.png (image/png)
 2019 ONYX align PANTONE.png (image/png)
 image-20240729-182428.png (image/png)
 image-20240729-182520.png (image/png)
 image-20240729-182549.png (image/png)
 image-20240729-182630.png (image/png)
 image-20240729-182649.png (image/png)
 image-20240729-182733.png (image/png)
 image-20240729-184930.png (image/png)