Image Presets
Working with Image Presets
Image Presets allow you to save a group of image settings and apply them to other images quickly and consistently. This streamlines your workflow when working with similar files.
Creating a Preset
To create an Image Preset after adjusting settings with Image Tools:
-
Method 1:
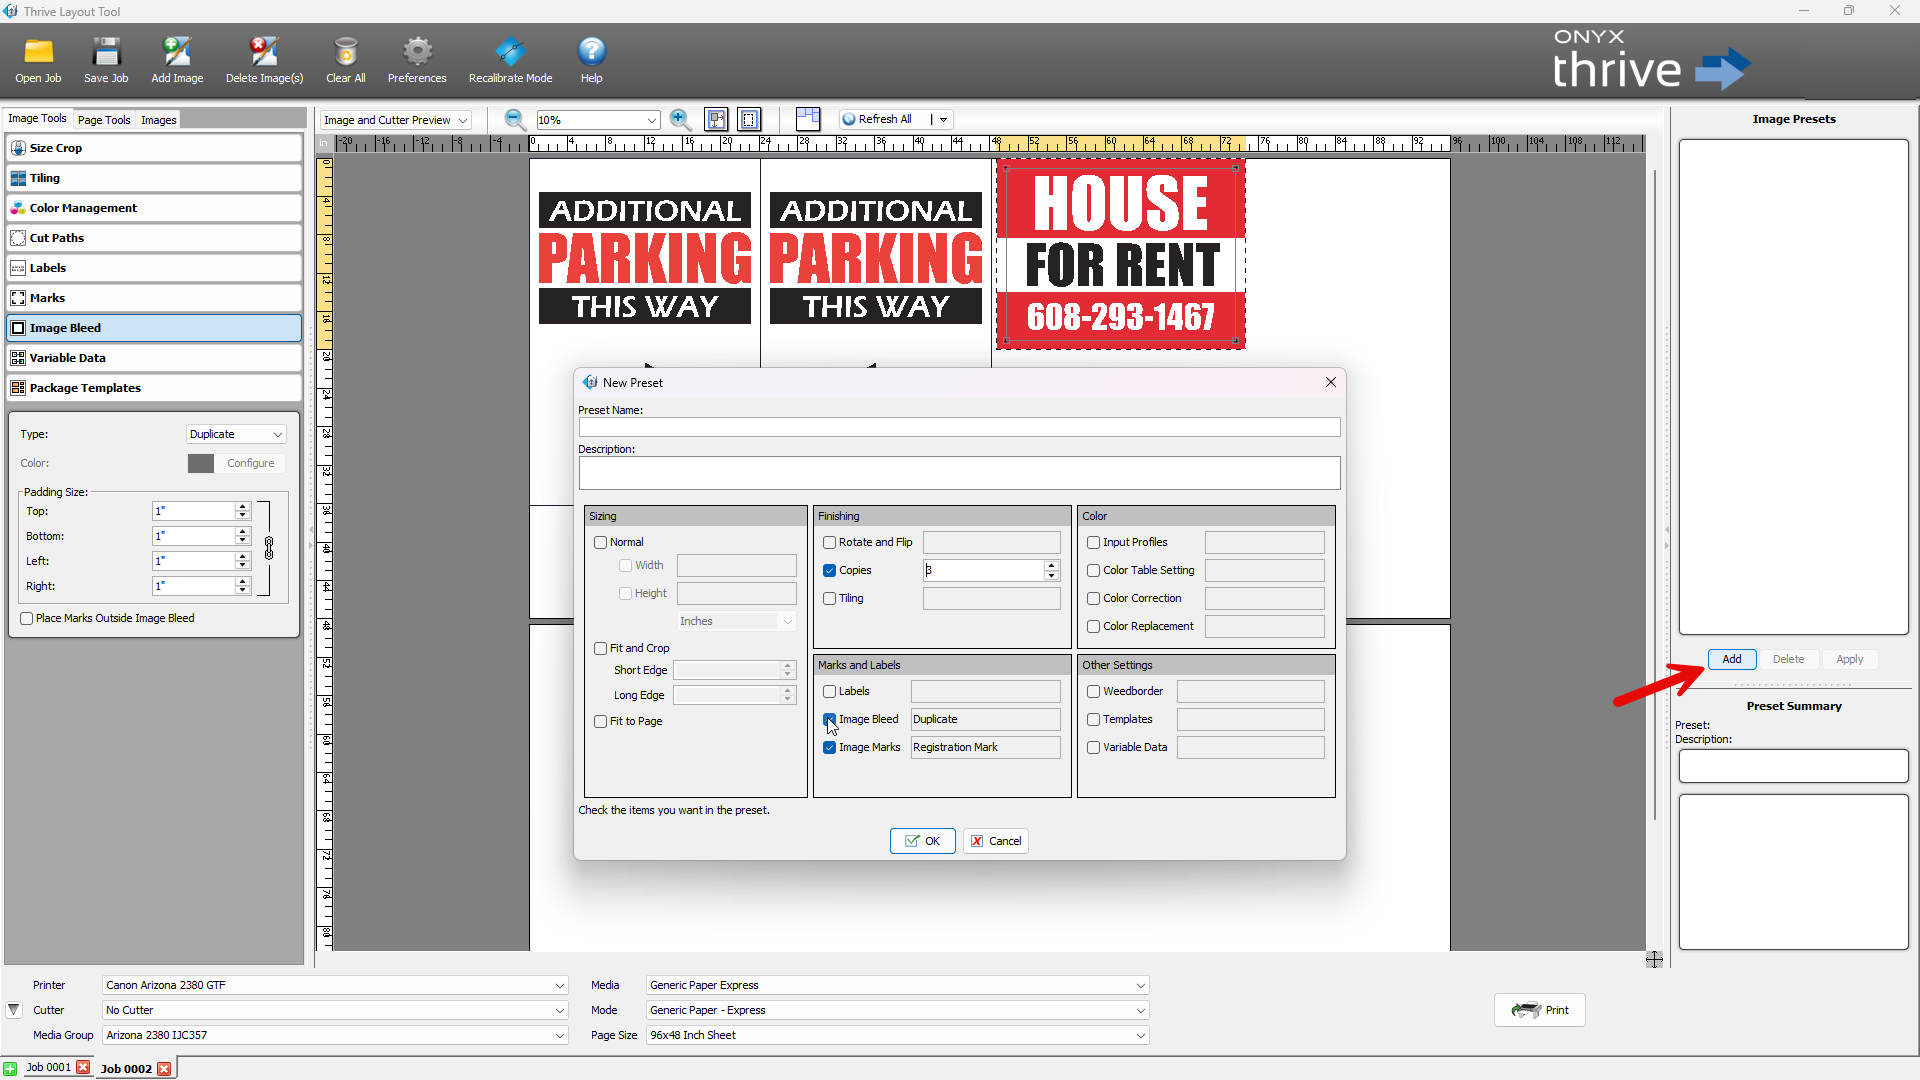
Click the [Add] button in the Image Preset area.
→ In the New Preset dialog, the current settings are listed.
→ Remove any unwanted settings.
→ Enter a Preset Name and Description, then click [OK]. -
Method 2:
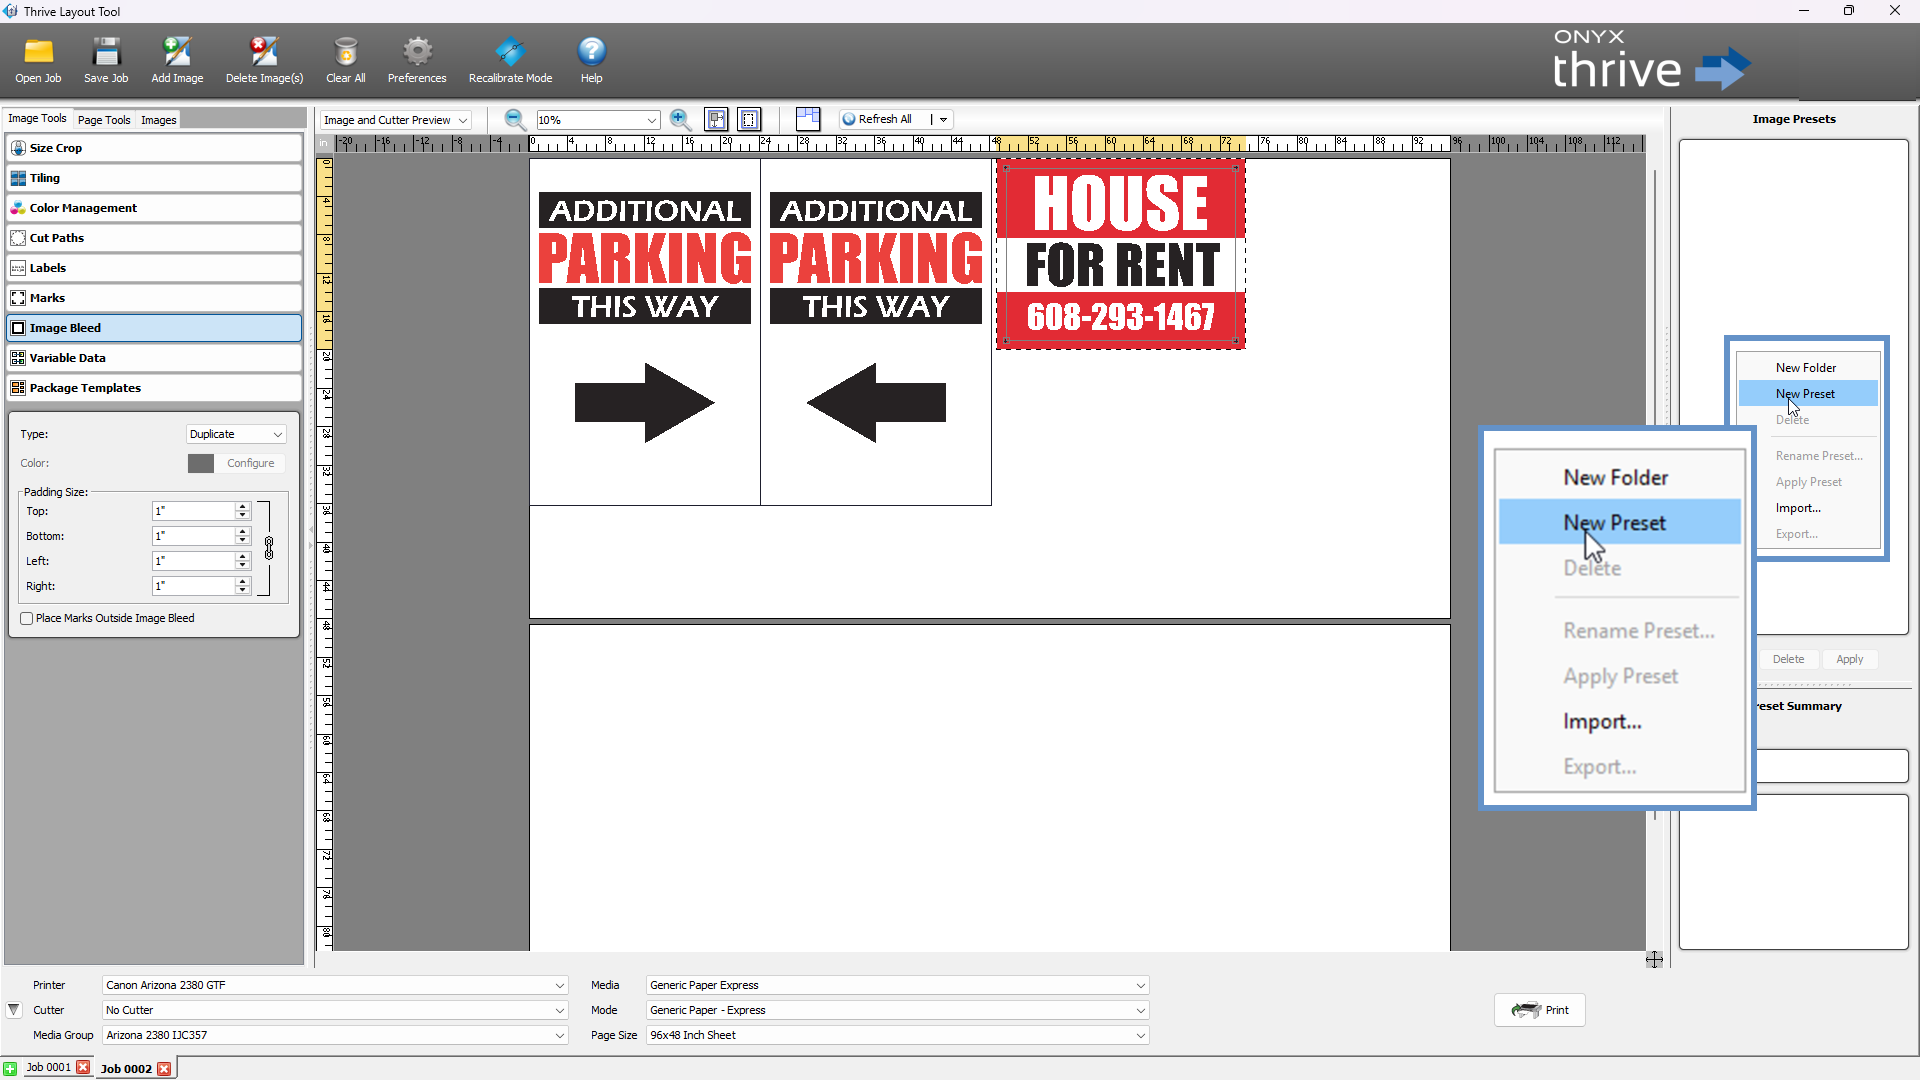
Right-click in the Preset List area and select [New Preset].
→ The same dialog will appear with current image settings pre-filled.
→ Name, describe, and save the preset.
⚠You cannot add new settings in this dialog—only remove existing ones.
Applying a Preset 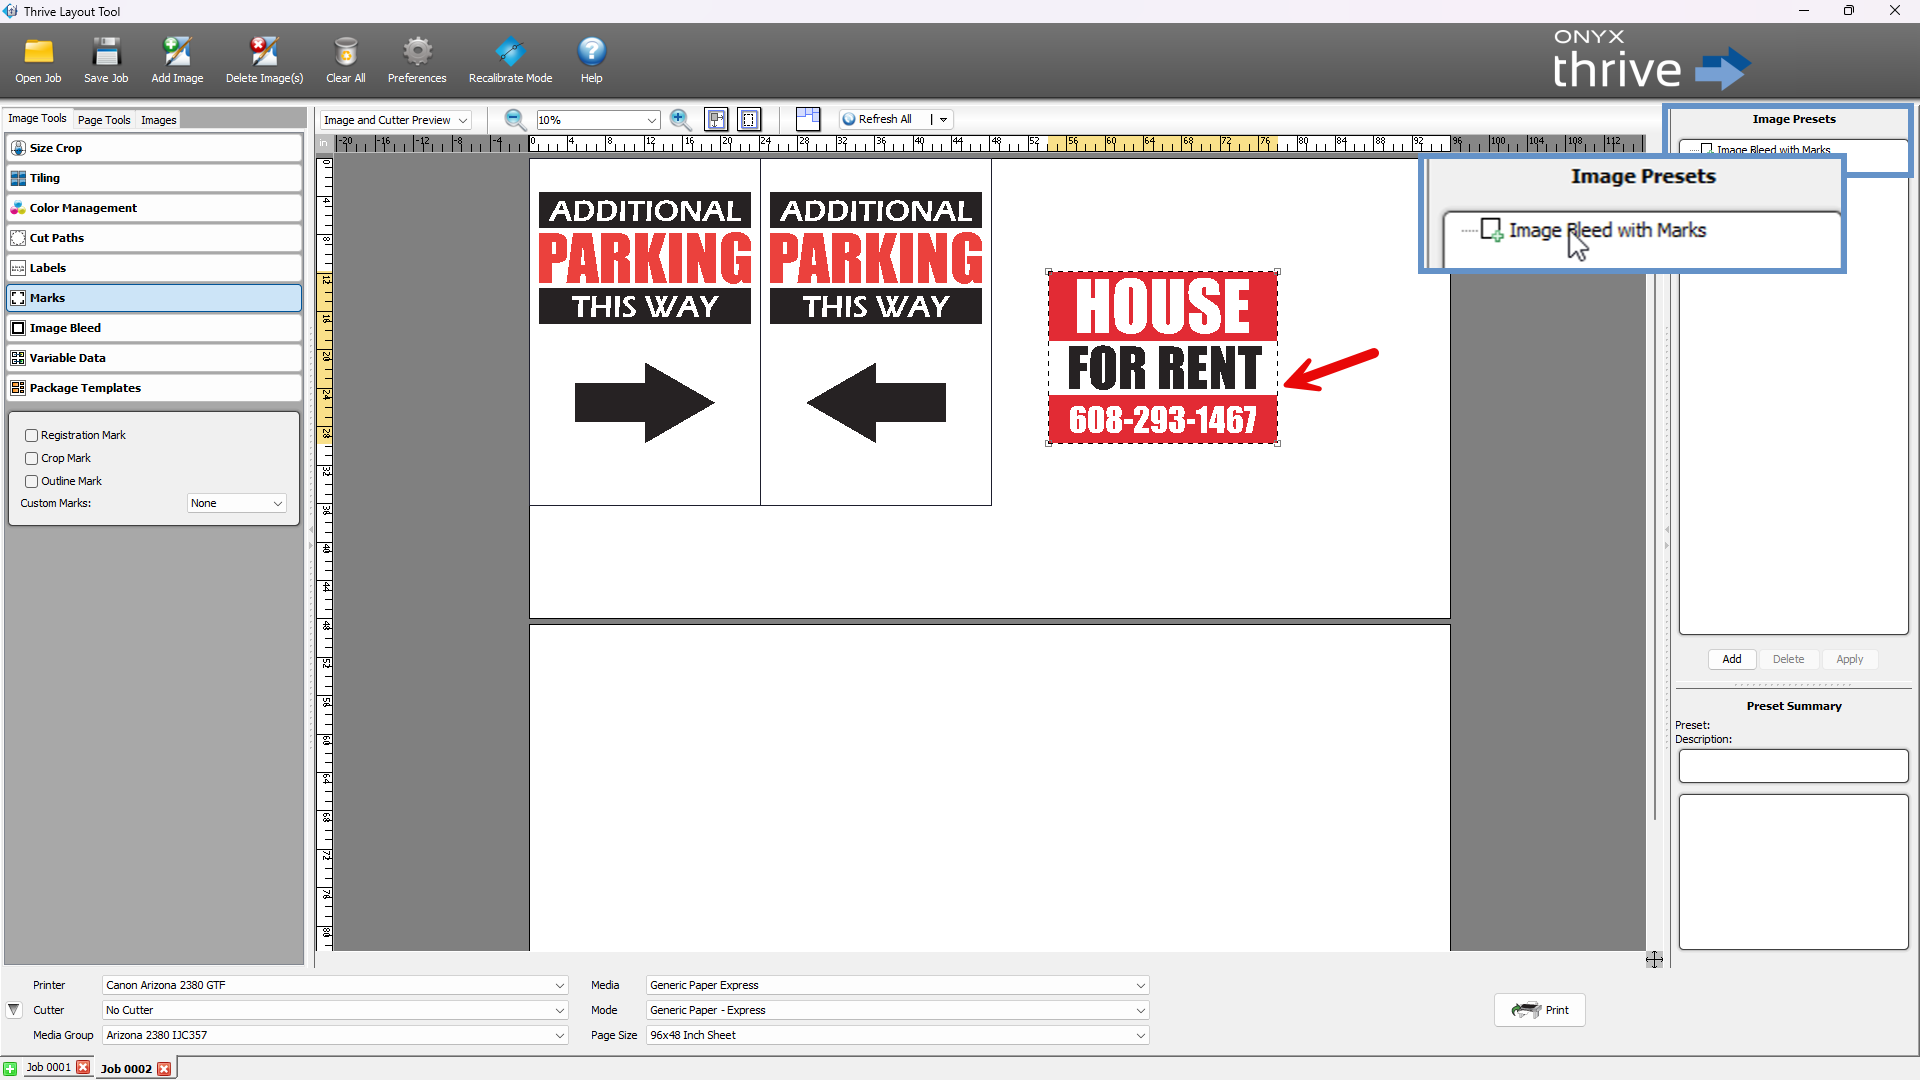
-
Select the target image in your Job.
-
Choose a Preset from the list.
-
Click [Apply] to instantly apply all saved settings.
Deleting Presets 
To delete:
-
Select a Preset or Preset Folder.
-
Click [Delete], or right-click and choose [Delete].
-
You can delete individual presets or entire folders.
Modifying a Preset
You cannot directly edit a preset.
Instead:
-
Apply the preset to an image.
-
Make the desired changes.
-
Create a new preset with the updated settings.
Organizing Presets 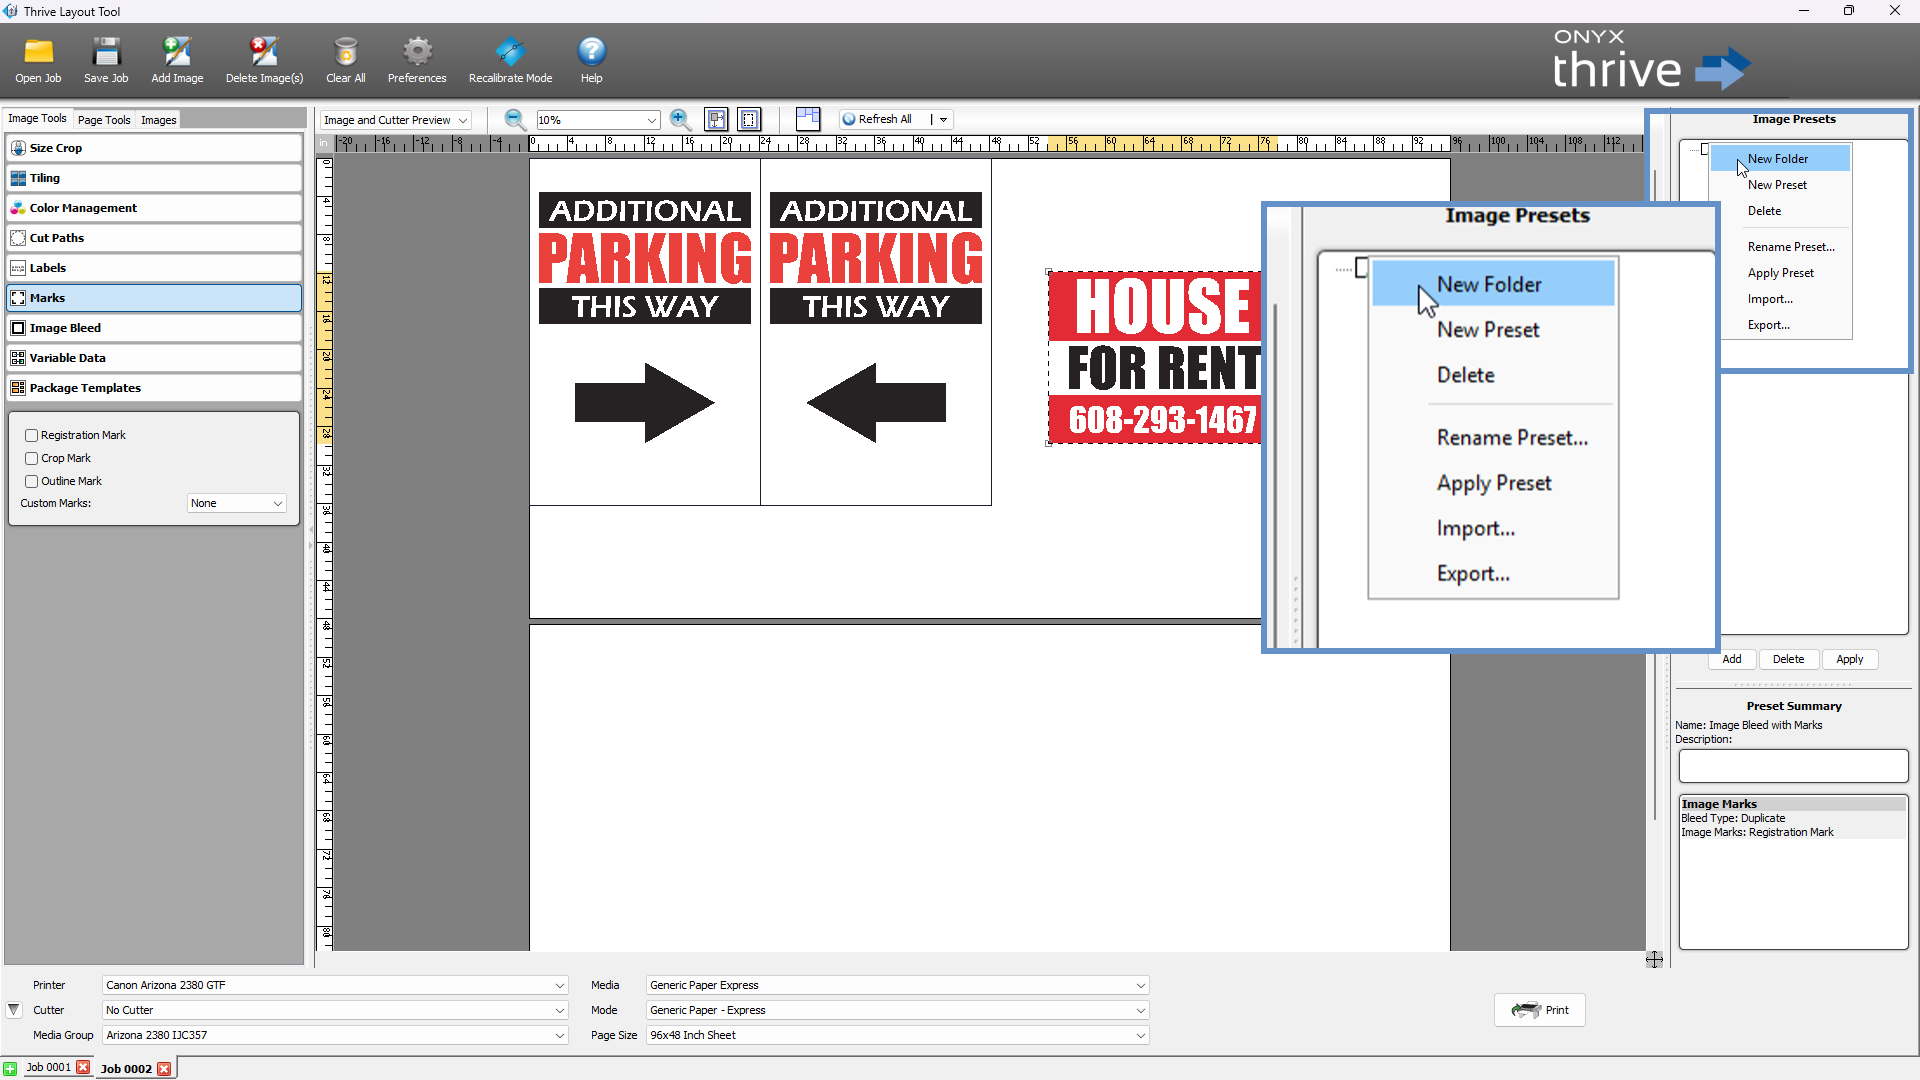
-
Create Folders: Right-click in the Preset area and select [New Folder].
-
Move Items: Drag and drop presets or folders to reorganize them.
Importing and Exporting Presets
To Export:
-
Right-click on a preset, folder, or the top-level area.
-
Select [Export...], choose a save location, and confirm.
To Import:
-
Right-click in the desired folder or preset area.
-
Select [Import...] and browse to the preset file location.
Renaming Presets
To rename a preset:
-
Right-click and choose [Rename Preset...].
-
In the New Preset dialog, update the name or description.
-
Click [OK].
Helpful Tip
Watch the Batch Job Editing and Presets video tutorials to learn advanced tips for applying and managing presets across multiple images.