| Tile Marks | |
|---|---|
|
Tile Marks allows you to set [Tile Overlap Marks] and [Zero-Line Marks].
This option is with tiled jobs that use overlap. This mark shows where the overlap begins and ends to help you combine tiles easily. When piecing the tiles together, the [Tile Overlap Marks] mark of one tile overlays the corresponding mark on the adjacent tile.
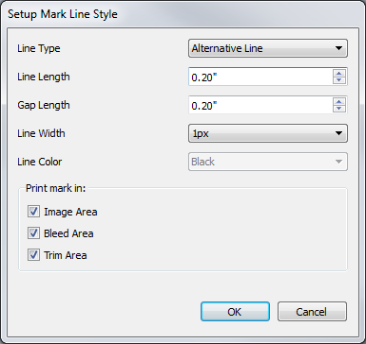
You also can set mark line style such as [Line Type], [Line Length], [Gap Length], [Line Width] and [Line Color] by clicking
In the “Setup Mark Line Style dialog, the[ Print Mark in:] section determines where the tile marks will print.
To use [Tile Overlap Marks] marks, enable this box. Please note you must first enable Registration of the [Edge Marks] going to Job Editor > Finishing tab > Mark tab in or [Marks] of the Finishing tree in the Advanced Quick Sets.
This option prints a black crosshair with a white inner portion in the middle of the tile overlap area. Check the [Crop] or [Sewing] that you want to use. For set mark line style, click
Crop – This option defines an area of your image that will not be printed. Sewing – This option allows you to add accurate marks to your job for folding or hemming after the job is printed. [Sewing] marks are commonly used with Tiling. There are 3 types of Line Styles. These marks show the center point of each tile, allowing you to accurately place the tiles. Click
|
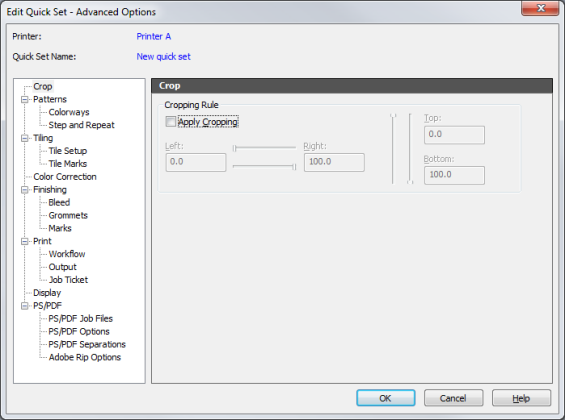
Figure 1
Figure 2
|
 button. This opens “Setup Mark Line Style” dialog (Figure 2).
 button. This opens “Setup Mark Line Style” dialog (Figure 2).
