| Image Options | |
|---|---|
|
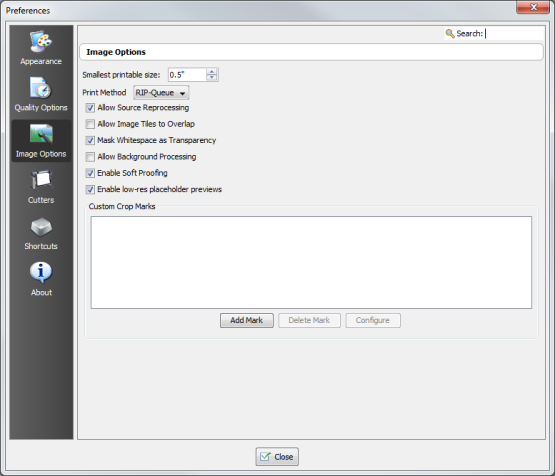
The "Image Options" screen allows you to customize image properties. To access the Image options, click Preferences icon from the main toolbar and then select Image Options icon on the left side tool bar.
You can set the following options:
This option determines the smallest image size that you can print.
This option determines how an image is sent to the printer for printing. Select [RIP-Queue] or [Direct] using drop-down arrow.
This option allows you to reprocess the source image.
This option allows you to overlap tiles on top of each other. You should only use this option in conjunction with the Mask Whitespace as Transparency option. Typically, you will use this option to place two images with white space on top of each other to maximize media usage. When overlapping images, you cannot control the order in which images are overlapped.
This option makes all whitespace in an image transparent. This allows you to overlap images with whitespace to save more media.
This option allows you to process your images before printing them. If you modify your images extensively before printing, enabling this option will slow down your production speed. If you do not modify your images extensively, this option will improve your production speed.
This option allows you to preview your final printing image on your monitor. You can check the color for accuracy
This option allows you to display a lower resolution preview when processing larger files.
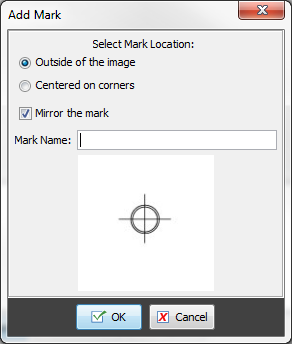
This option allows you to import your own marks to use as Crop Marks. Click [Add Mark] to add a new Crop Mark. Once the Mark has been added, click [Configure] button to configure the Mark (Figure 2). To remove the mark, click [Delete] button.
You also can add Custom Crop Marks to your image using the Marks tool.
|
Figure 1
Figure 2 |