| Adding a Cut File | |
|---|---|
|
Typically, cut files are automatically added to CUT-Server. When an image with cut paths is created in RIP-Queue, RIP-Queue automatically places the cut file in the appropriate CUT-Server folder. When the image is done printing, you can open CUT-Server, verify your settings, and click [Cut Now] button.
NOTE: For more information on cut paths in RIP-Queue, see the RIP-Queue Online Help. For the best workflow, verify that all your settings are accurate in both RIP-Queue and CUT-Server.
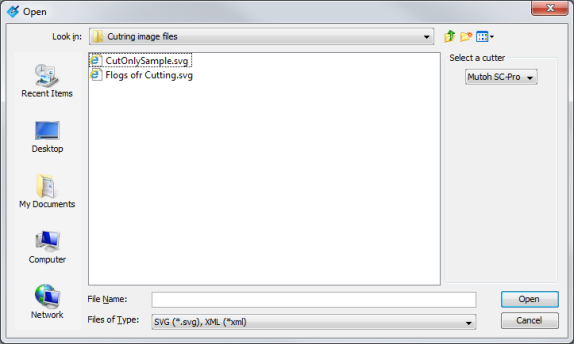
You can also add cut files by clicking the [Open] button or [Scan a Barcode] button.
The Open icon on the tool bar displays a browser that allows you to browse to your cut files. Use this option if your cut files are stored on a network or other location. Remember to verify all of your settings to ensure accuracy.
|
Figure 1 |