Multi-layer printing
*It is important to note that this is a printer-specific option and may not work for your device.
Setting Up a Multi-layer Media Profile
-
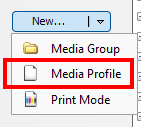
Navigate to Media Manager and click on the “New…” drop-down, then select Media Profile (Hint: You do not have to create a new media to use this feature; you can edit a default one as well)
-
Go through the naming step and find the “Basic Media Profile Settings” page. Under step 2, you should see the option “Configure Layers”. After designating the colors in “Select the process colors to use rendering images,” select the “Configure Layers” button.

-
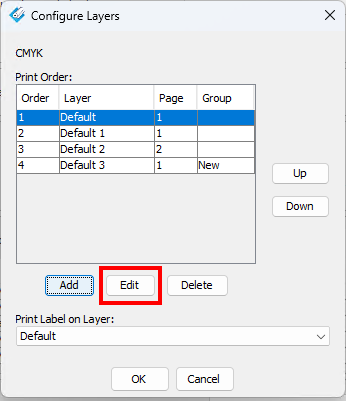
After clicking the “Configure Layers” button, you will see the created layers for this media. By default, you will see a “Default Layer.” This layer is not set up, and you must edit it. Select the “Default” print layer and press the “Edit” button below.
-
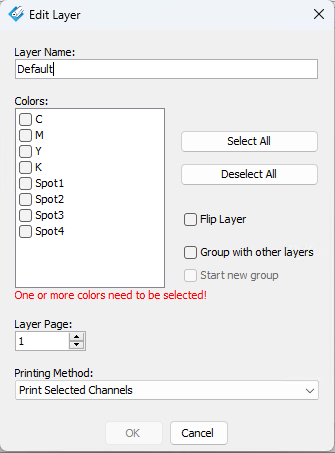
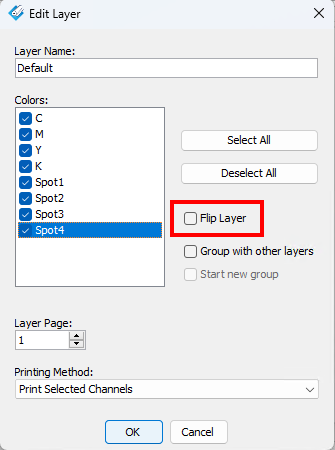
You will now see an option to name the layer, select the colors used in this layer, whether to group this layer, whether to flip this layer, an option to start a new group, the layers assigned page, and its printing method.
-
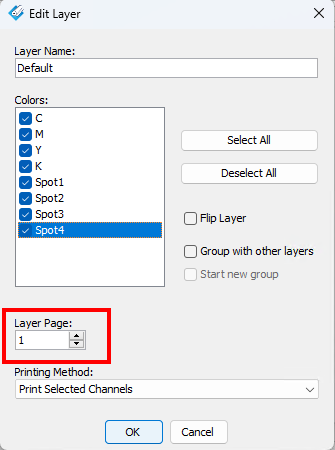
You may fill out all your desired details for this layer and select “OK.”
-
After selecting “OK,” you will be brought to the first screen displaying your layers. You then have the option to create other layers, and once other layers are created, you may designate the layer on which your print label will be placed.
-
Once completed, you may select “OK” and continue building/editing your media.
-
Your media is now set up to use in Rip Queue. Ensure you select this newly created media in Rip Queue and have set up printing using multiple print layers in your Job Properties, Quick Set, or Job Editor.
Configure Layer Options
After pressing the “Configure Layers” button in Media Manager, these options are available.
Add Layers: This option creates new layers.
Delete Layers: This option deletes existing layers.
Print Label on Layer: This drop-down allows you to designate the layer on which your print label will be printed.
Edit Layers: Selecting this button in the “Configure Layers” pop-up lets you design your layer fully.
Flip Layers: Enabling this checkbox will designate this layer to flip the image or essentially mirror the image.
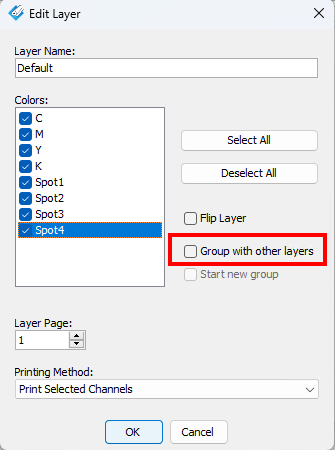
Group w/ Other Layers: This option is so that layers would be grouped and sent to the printer driver at the same time (Note: Normally, this would not be enabled as the printer driver will confirm and set the layers accordingly)
Layer Page: This drop-down designates the page on which the layer is printed by default.
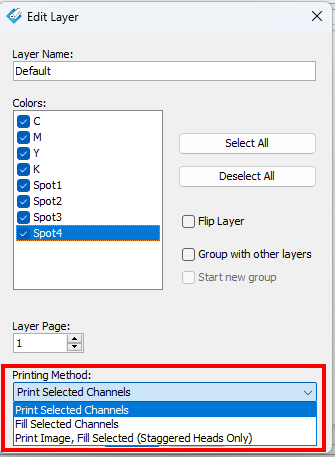
Printing Methods: Selecting this drop-downgives you the following options:
Print Selected Channels: Print Selected Channels will only print the channels from the image that are selected (non-selected channels from the image will not be printed)
Fill Selected Channels: Fill selected Channels will print 100% fill in the channels that are selected (non-selected channels will not print anything)
Print Image, Fill Selected (Staggered Heads Only): The last option prints image channels that are not selected and prints 100% fill in the selected channels.
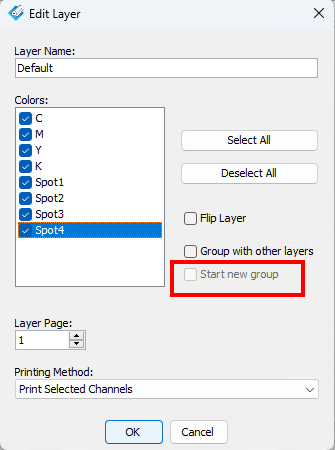
Start a New Group: This option signals that this layer will be the start of a group in which itself and other layers would be sent to the printer simultaneously (Note: Normally, this would not be enabled as the printer driver will confirm and set the layers accordingly)
Viewing Layers in Rip-Queue
-
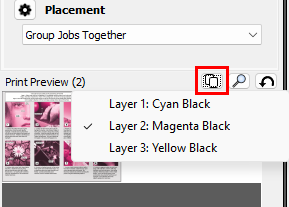
Print Preview
-
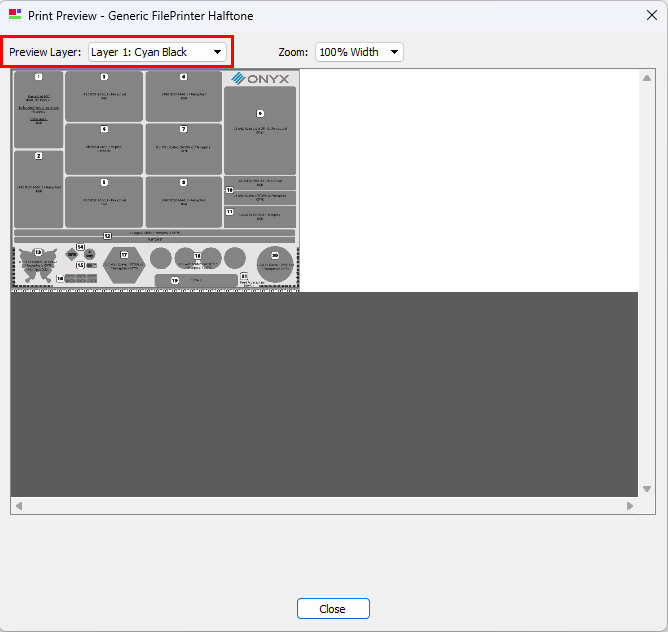
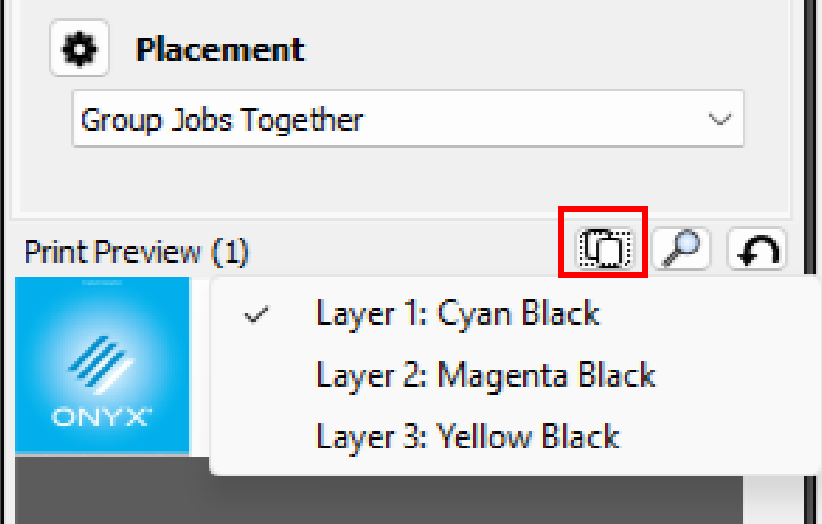
A new feature was added to the print preview dialog to allow users to view each layer using the drop-down menu.
-
-
Nest Preview
-
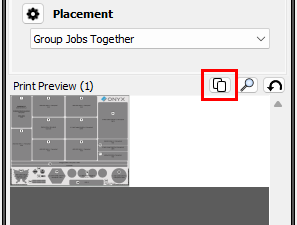
Nest preview has a new layer button to allow users to view each layer.

-
Layers Column in Queue
-
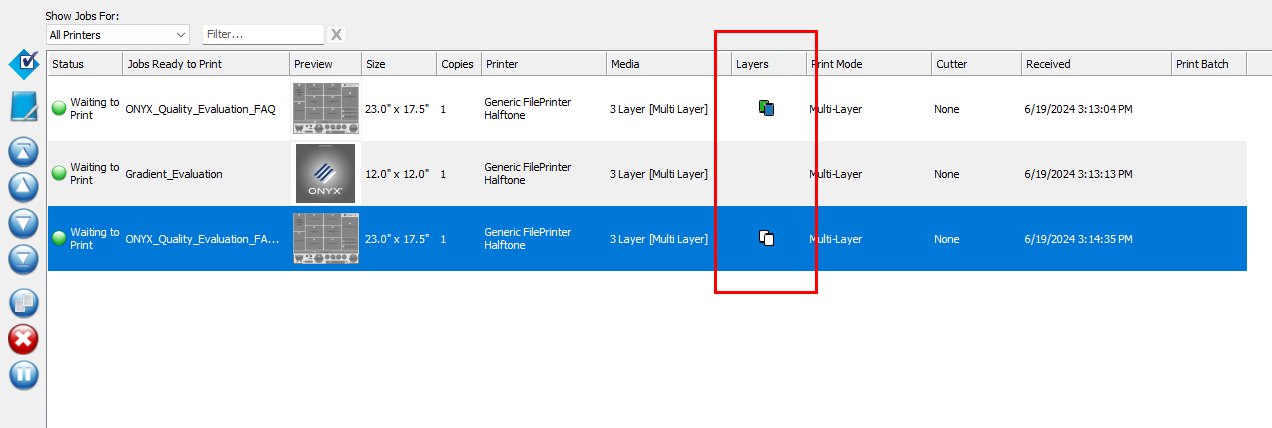
Viewing the layers icon in the queue will allow the user to identify the multilayer jobs quickly.
-
To activate this option, right-click on the queue table, select the layers checkbox, and press OK.

-
-
After this option is activated, you will see an icon indicating that the job is multi-layered.
Setting Up a QuickSet for Multi-Layer Printing
-
Navigate to the QuickSet you want to edit or create a new one.
-
Once you reach the “Edit Quick Set” pop-up, you will need to select the “Print using multiple print layers option.” This is necessary to tell the printer to print multiple layers. You also have the option to tell the printer how you would like to print your Multi-page PDF Files.
-
After enabling the “Print using multiple print layers” and selecting how you would like to handle multi-page PDFs, save your Quick Set.
-
Next time you want to print with multiple layers, use your designed Quick Set!

-
Basic Workflow to Print a Multi-Layer Job
-
Multi-page PDF
-
Open a job with a PDF that has more than one page.
-
Right-click on the job and select “Job Properties.” Or you can double-click on the job to open Job Properties
-
Click on “Print using multiple print layers” and press OK.
-
In the nest preview, you can now see each layer by clicking on the layer button and selecting the layer you wish to see.
-
-
Using Multiple Images of the Same Size
-
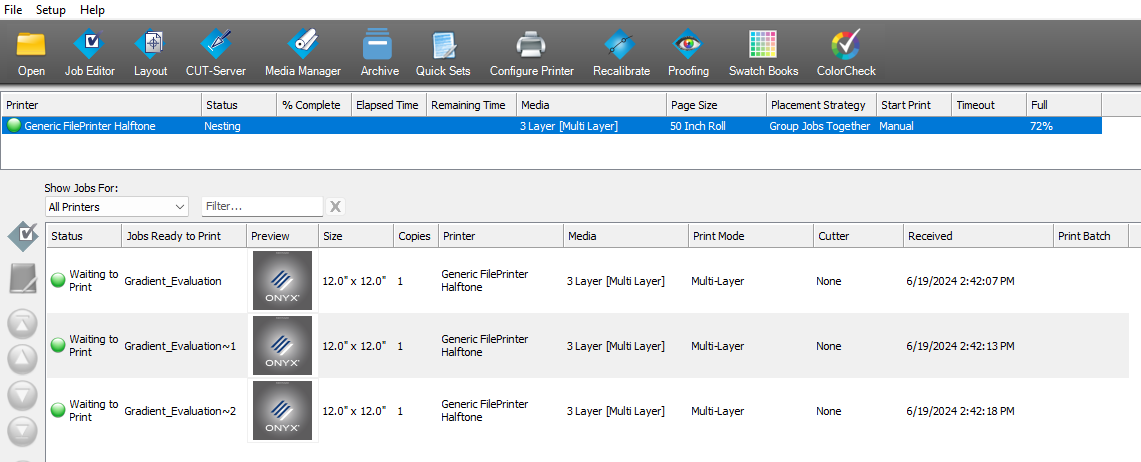
Open multiple jobs that have the same dimensions.
-
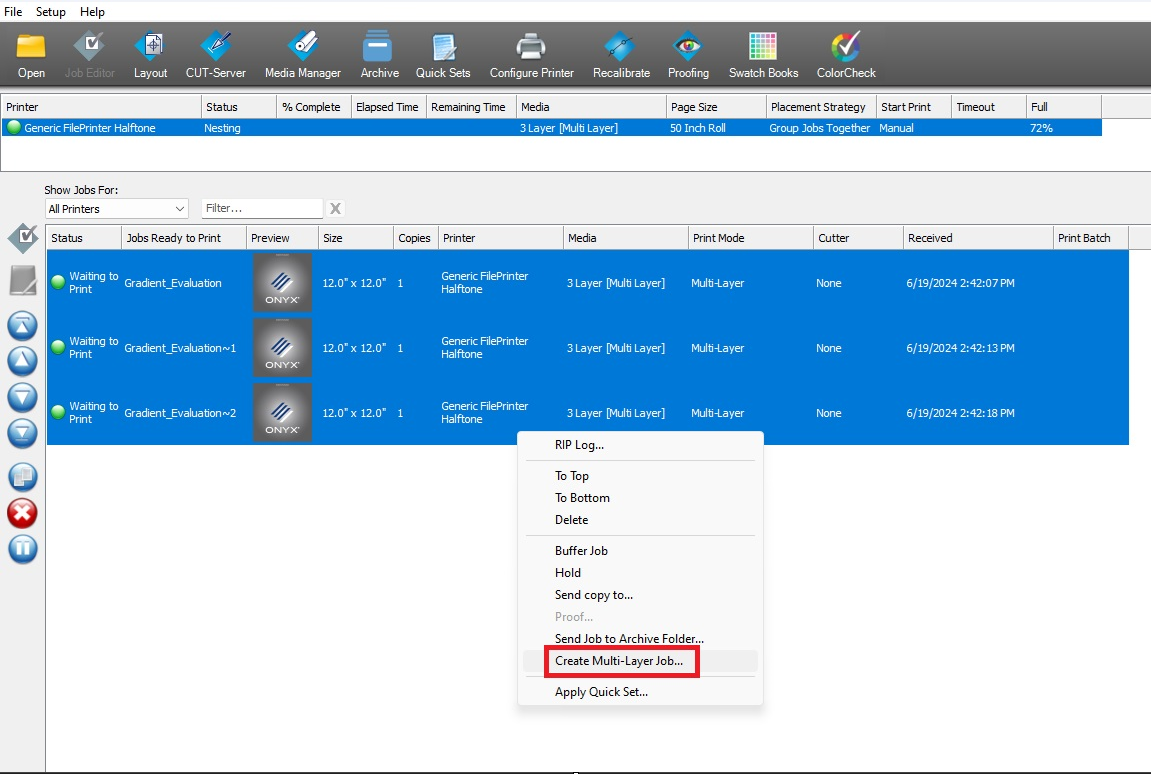
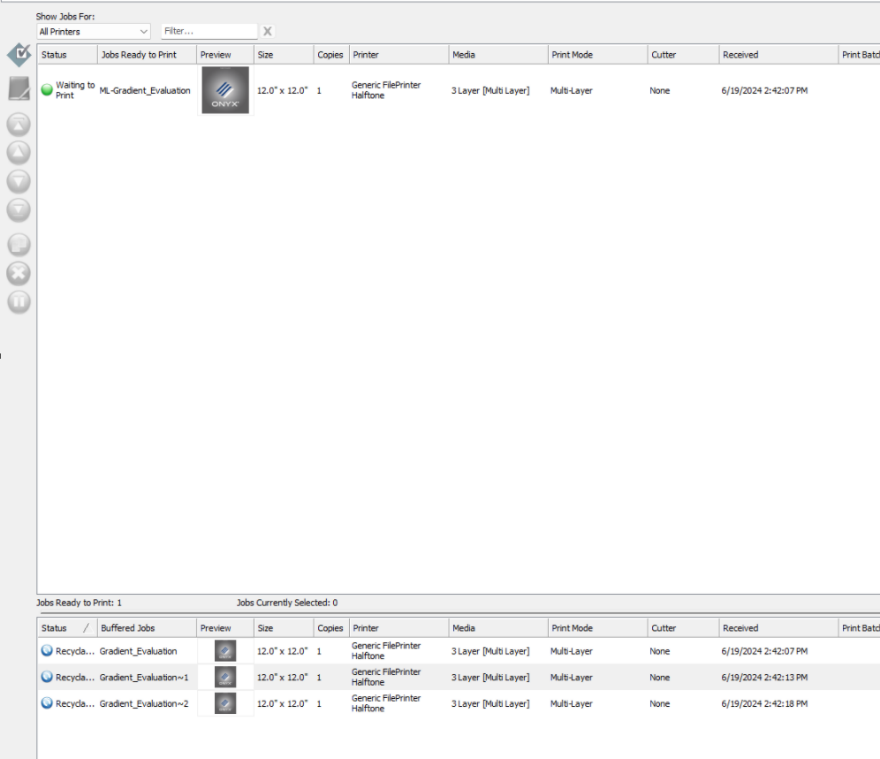
Select all the jobs you want to convert into a multi-layer job, right-click on a selected job, and select “Create Multi-Layer Job…”
-
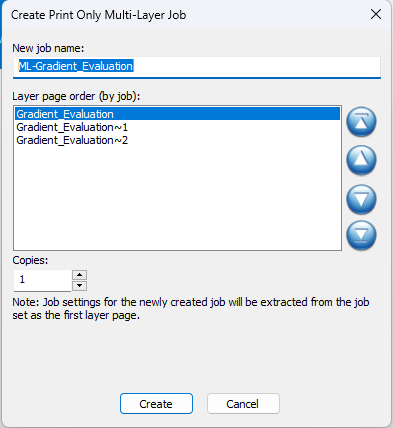
In the “Create Print Only Multi-Layer Job” dialog, you can name the new job and select the order of layers and number of copies.
-
>The original jobs will move to the buffered area, and a new job will appear in the queue.
-
In the nest preview, you can now see each layer by clicking on the layer button and selecting the layer you wish to see.
-
Job Editor Print Using Multiple Print Layers
-
Printer and Media (tab)
-
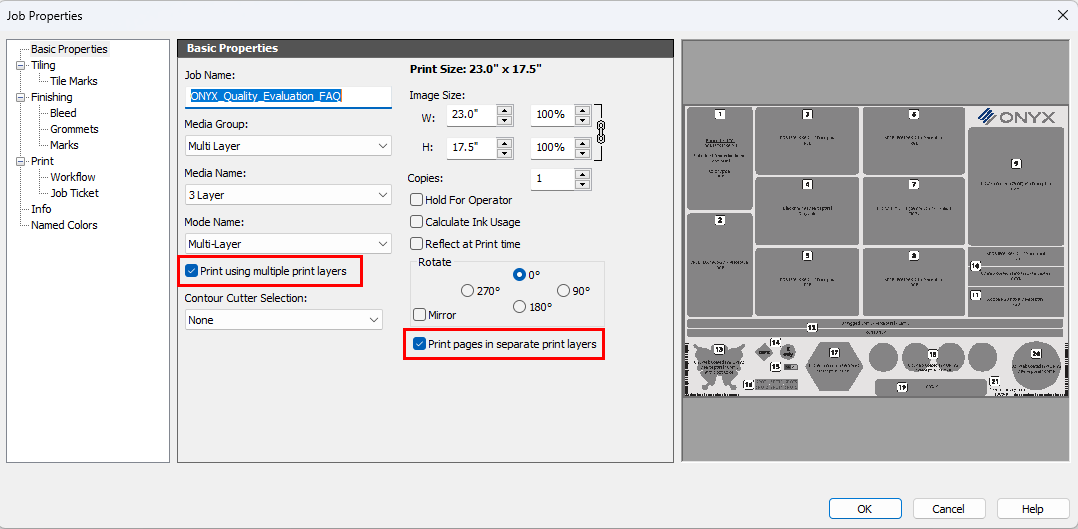
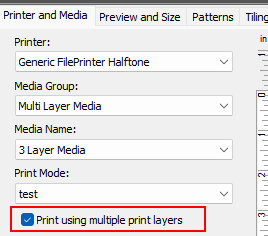
Select a multilayer media from the media group and media name drop down.
-
Check “Print using multiple print layers.” This setting should only appear if the media supports multi-layer printing.
-
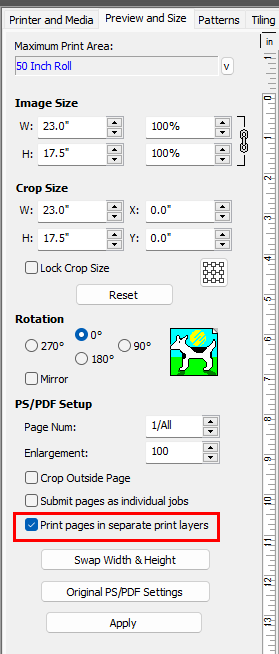
If you want to print each page of a multi-page PDF on a separate layer, you must go to the Preview and Size tab.
-
Select “Print pages in separate print layers.”
-