| Color Correction | |
|---|---|
|
NOTE: If you do not have Job Editor, contact your sales representative for an upgrade
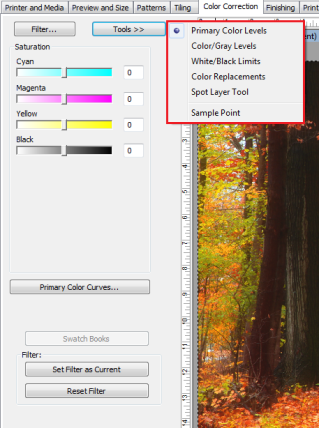
To access the [Color Correction] option:
NOTE: If you have no Color Correction Filter, You need to create them first in Job Editor.
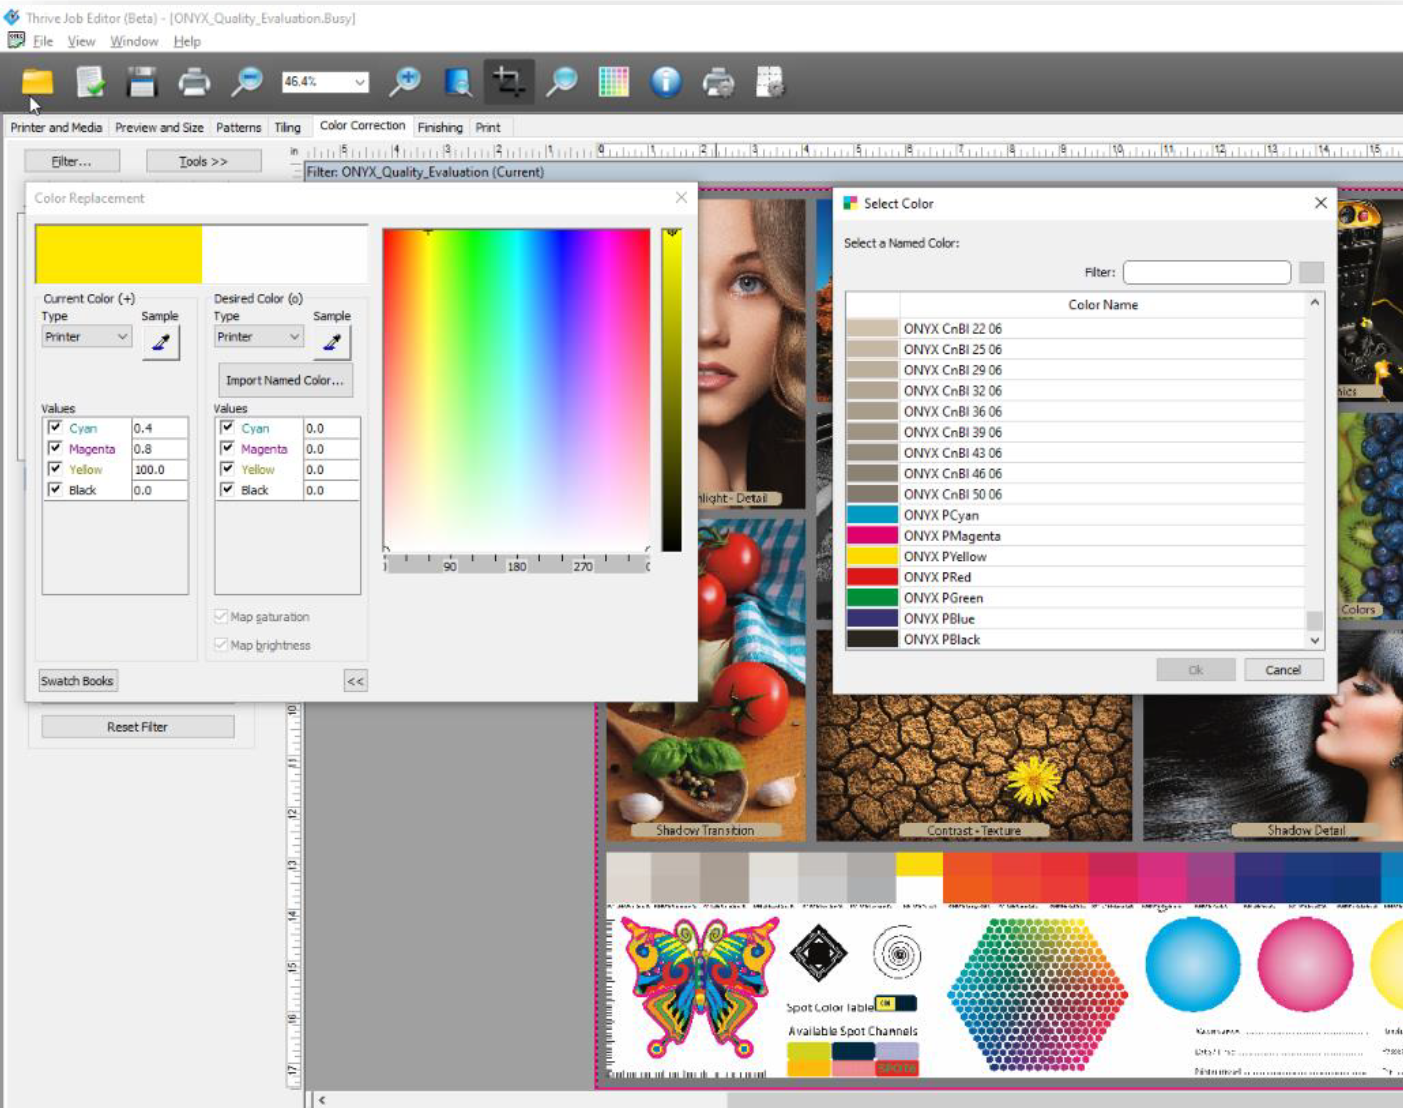
ONYX Color Reference Library access in Job Editor: Job editor also includes the option to use the ONYX Color Reference Library for spot color replacement under the color corrections tab. This allows users to know how a color will be reproduced for any existing print mode:
Although there are many pros and cons for using both Color Correction Filters and Profiles. Profiles are highly recommended because of their accuracy, usability, and other features. Following is a list of several differences:
Because Color Correction Filters are specific to particular images and printers, Job Editor does not install default Color Correction Filters.
Whenever an image is opened in Job Editor, an empty Color Correction Filter is assigned to the job. Once you use any of the tools on the Color Correction tab, the filter applies the modifications. To apply a different filter, or to display a different filter, use the Filter Dialog box. See Color Correction Tab - Filter for more information.
You can apply a Color Correction Filter to jobs automatically using the Advanced Quick Set options in RIP-Queue. Use caution when applying a Filter to multiple jobs because it can cause unpredictable colors.
Related Topics
|
Figure 1
Figure 2
|