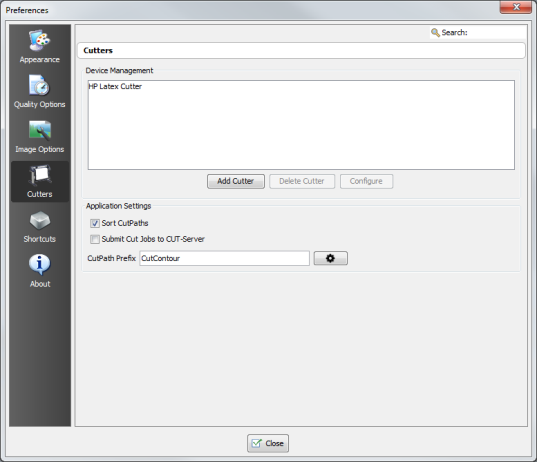
[Device Management] lists all cutters that you have selected. It also allows you to [Add], [ Delete], and [Configure] cutters.
- Add Cutter — Click this button to add a cutter. Select a cutter you want to use from the drop-down list. If you want, you can change the display name of your cutter by typing a new name in the [Display Name] field. If your cutter is not available, select [Generic Cutter].
- Delete Cutter— Click this button to remove a cutter. The highlighted cutter is the cutter that will be removed.
- Configure— Use the following instructions to configure your cutter:
-
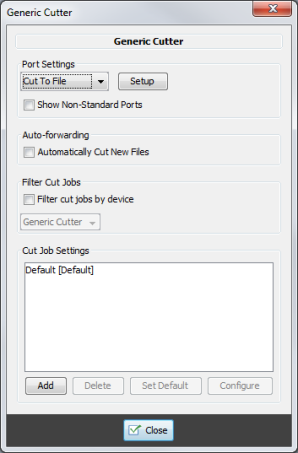
From the “Cutter” screen (Figure 1), click the [Configure] button. This opens the “Configure Cutter" dialog (Figure 2).
-
Under [Port Settings], select the port you use. Click [Setup] button to select your port settings.
-
In the [Cut Job Settings] area, you can [Add], [Delete], and [Configure] your settings. These settings control your cutter specific settings like knife pressure and speed.
NOTE: Because the settings for each cutter are different, refer the user manual for your cutter for assistance configuring your Port Settings and Device Settings.


 Device Management
 button. Then check the Cut Path Prefix that you want to use. (Figure 1 )
 button)
 Related Topics