[Image Presets are used to automatically apply a specific group of settings to an image based on settings you have already applied to an image. Once you have applied settings to an image using the Image Tools, create a Preset based on that image.
Creating a Preset
Once you have applied the desired settings to your image, select the image, and create the Preset by doing one of the following methods:
- Click [Add] button in [Image Preset] area (Figure 1).In the "New Preset" dialog (Figure 2) the settings you have applied to your image will appear. You can remove any settings in this dialog, but cannot add new ones. Enter a [Preset Name] and [Description], and click [OK].
- Right click in the [Preset list] area (Figure 1) and select [New Preset]. This opens the New Preset dialog (Figure 2). The settings you have applied to your selected image will appear. You can remove any settings in this dialog, but cannot add new ones. Enter a [Preset Name] and [Description] (Figure 3), and click [OK].
Applying a Preset
Select an image in your job. Select a preset from the preset area, and click [Apply] button to apply the Preset to the image you selected.
Deleting a Preset
Select a Preset in the Preset area or select a folder of Presets to delete all of the Presets in that folder, then click [Delete] button. You can also right click on a preset or folder and select [Delete].
Modifying a Preset
You can modify an existing preset. First you need to apply the existing preset to an image, then make the modifications, and then create a new “modified” preset.
Managing Presets
You can organize all of your presets into folders in the Preset Area.
- Right click in the Preset area and select New Folder to create a new folder. Once you have created folders and Presets you can drag and drop items to move them to the desired location.
Importing/Exporting Presets
After you have created Presets you can export and save them, or import existing saved Presets.
- To Export Presets:
Right click on a Preset area and select [Export...] then browse to where you want to save the Preset.
NOTE: You can right click to export an individual preset, or right click on a folder to export all the presets in that folder, or export the Preset folder at the top to export all Presets.
-
To Import Presets:
Right click in the Preset area and select [Import...] then browse to where you have saved a Preset.
NOTE: You can also import Presets into a specific folder by right clicking on a folder and selecting [Import...].
Renaming Presets
Once you have created a Preset you can rename it and edit the description. Right click on the Preset area and select [Rename Preset...]. In the "New Preset" dialog (Figure 3) you can type in a new name or description, then click [OK].
TIP: Batch Job Editing video tutorial offers you useful tips on editing multiple images. You can learn more about using presets for editing multiple images by watching the Presets video tutorial
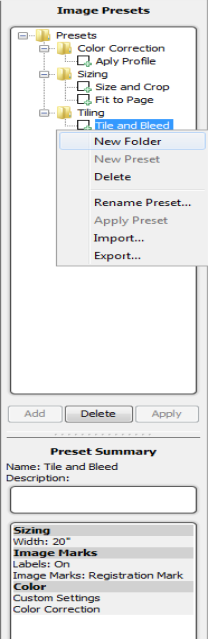
Figure 1
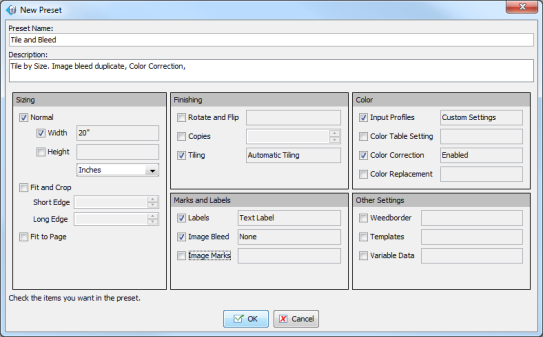
Figure 2
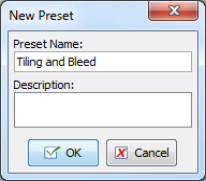
Figure 3