The Grommet option can easily be added to an image. By default the top and bottom, as well as left and right values are locked together. To set the values independently, unlock them by clicking the link icon (Figure 1). ). Also you can select a method ([Spacing] or [Quantity]) for putting grommets on the each place.
Spacing – This allows you to specify an approximate distance between grommet marks on a side of the image. The first and last mark locations will be determined by the offsets one either side, then marks will be added between them as needed, using the distance specified as a guide.
Quantity - This allows you to specify the number of grommet marks to place on a side of the image. The first and last mark locations will be determined by the offsets, then marks will be added at evenly-spaced intervals between them.
 Grommet Mark Size
 button for setting mark line style. This will open “Setup Mark Line Style” dialog. You can specify the space between grommet marks in the [Gap Length] of this dialog.
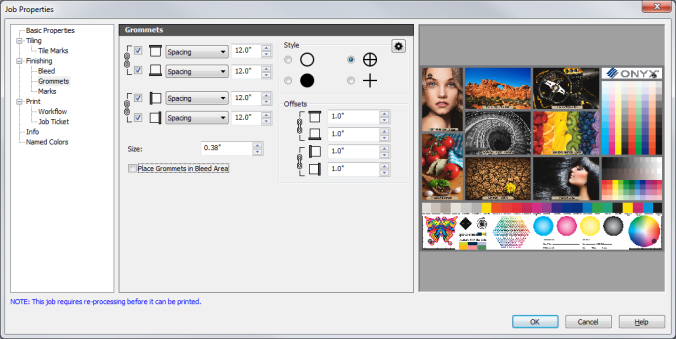
Figure 1