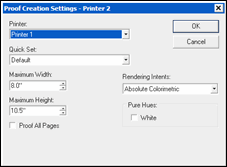
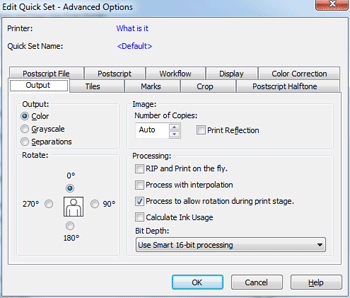
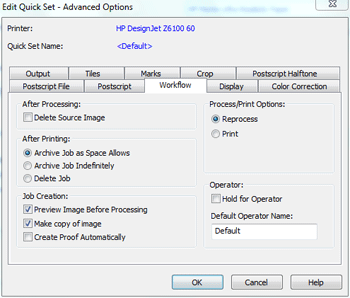
Immediately after calibrating your proofing printer, you should print a Visual Tolerance Chart. This chart verifies that your proofing printer is accurate and that it maintains accuracy over time. Print the chart (located in the ONYX Graphics/product name/Samples folder) using the All Profiles Off Quick Set. Cut the Chart along the white lines, and punch holes using a hole puncher on each white dot. Each time you calibrate a printer, you should reprint the chart.
TIP: Storing the print out of direct light will help prevent fading.
A Verification Strip is printed on the bottom of each proof you print. Compare the Visual Tolerance Chart to the appropriate section of the Verifcation Strip by placing the marker (V) in the chart over the corresponding patch marked with a V in the strip. If the colors match, your proofing printer is accurate. If they do not, use the other patches in the chart to determine if the proof is lighter/darker, under saturated/over saturated, or a different hue. Continue comparing the sections from the chart with the sections of the strip until you have verified that your proofing printer is accurate.
If you find differences in the chart and the strip, you may need to recalibrate your printer. If you still have problems, you may need to reprint your Visual Tolerance Chart.


 Proofing Basics